
Amazon Associates Disclosure We are a participant in the Amazon Services LLC Associates Program, an affiliate advertising program designed to provide a means for us to earn fees by linking to Amazon.com and affiliated sites.
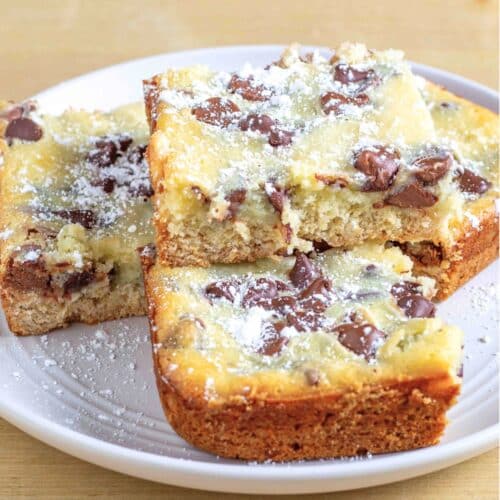
Chocolate Chip Gooey Bars
It’s not a cheesecake. It’s not a cookie bar. Really, it is somewhere in between. We took THAT butter cake, the ooey gooey one, and loaded it with chocolate. You know what I’m talking about. These Chocolate Chip Gooey Bars take everything you love about the original and load it up with chips. You’ll see. (And if you need the classic ooey gooey butter cake recipe, you can grab it here!)
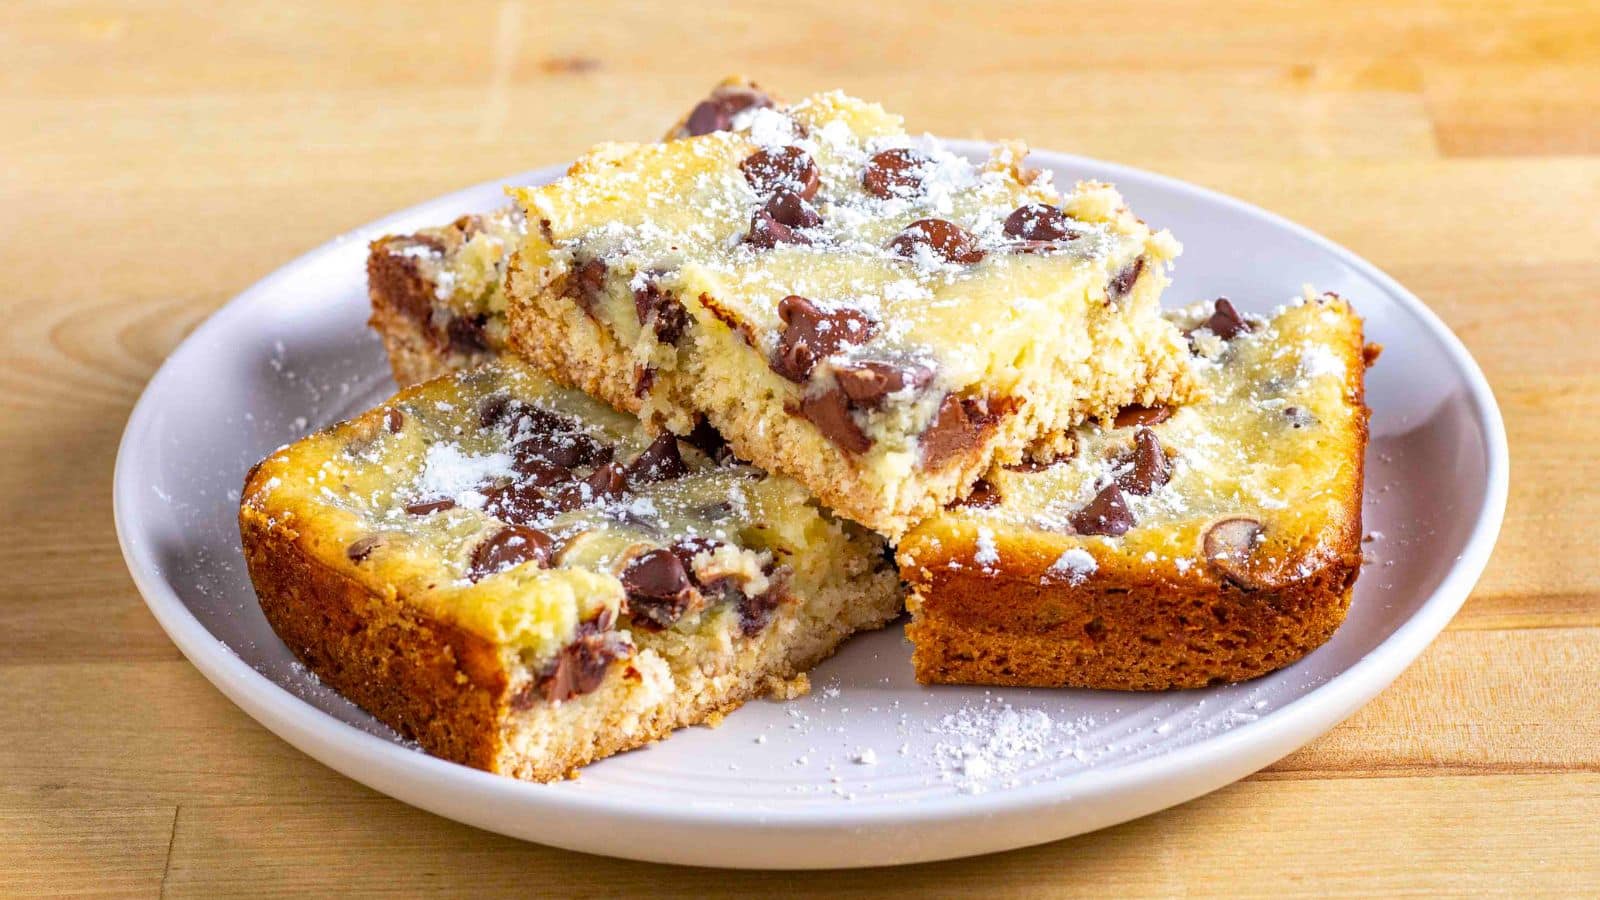
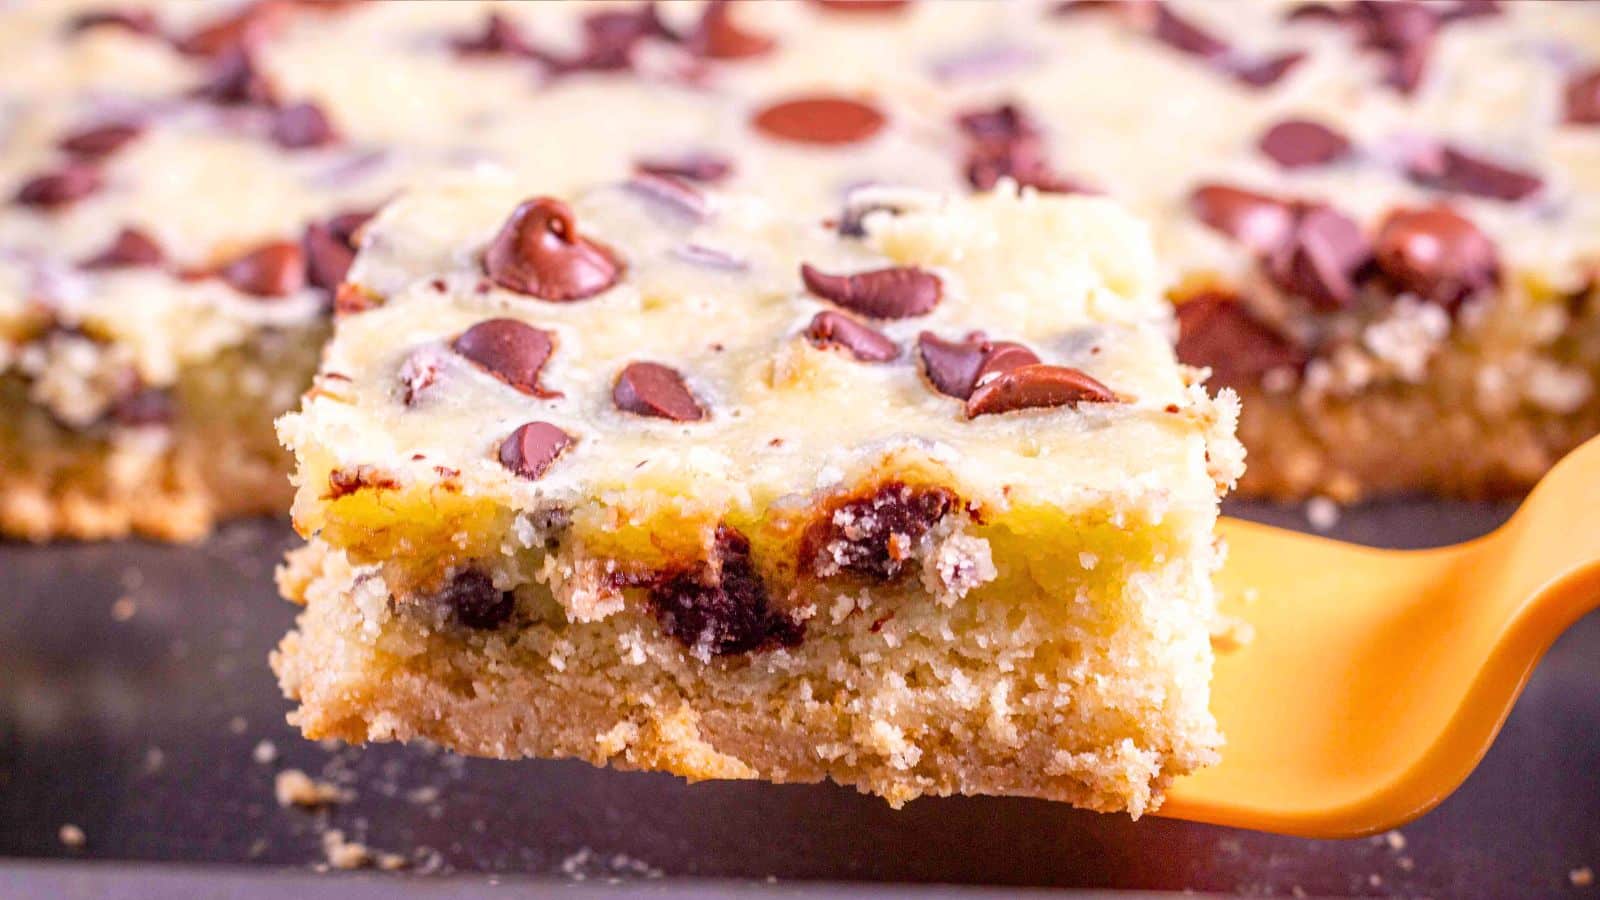
The familiar, soft, buttery base is still here, but now it’s topped with a rich, sweet, chocolate chip filling. Every square holds plenty of semi-sweet chips. You might even find yourself reaching for a second piece before the first one is gone.
Don’t miss the good stuff! Scroll down past the recipe card for helpful Pro Tips and additional information.
Chocolate Chip Gooey Bars
Ingredients
Crust Layer
- 1 box yellow cake mix
- ½ cup butter melted
- 1 large egg
Filling Layer
- 8 ounces cream cheese softened
- 2 large eggs
- 2 cups powdered sugar
- 1 teaspoon vanilla extract
- 2 cups semi-sweet chocolate chips 1½ cups folded in, ½ cup sprinkled on top
Instructions
- Preheat oven to 350°F.
- Grease or spray a 9×13-inch baking pan, or line it with parchment paper, leaving some overhang on the sides to lift the bars out after baking.
Butter Cake Base
- In a medium bowl, combine cake mix, melted butter, and egg. Mix until well blended.
- Press the dough evenly into the bottom of the prepared pan.
Filling
- In another bowl, beat cream cheese until smooth.
- Add eggs, powdered sugar, and vanilla. Mix until fully combined and no lumps remain.
- Fold in 1½ cups of the chocolate chips.
- Pour the filling over the crust and spread evenly.
- Sprinkle the remaining ½ cup chocolate chips over the top.
- Bake for 35 to 40 minutes. The center should jiggle slightly—don’t overbake.
- Cool completely before cutting into bars.

Nutrition
Nutrition information is automatically calculated and may vary based on exact ingredients used. For accuracy, consult a registered dietitian or nutritionist.
Storage Tips
Store any leftover bars tightly covered in the refrigerator for up to 5 days. They’re rich, so cold slices work just fine straight from the fridge. If you prefer them softer, let them sit at room temperature for 10 to 15 minutes before serving. You can also freeze individual squares for up to 2 months—just wrap them tightly and use a freezer-safe container or zip-top bag.
Pro Tips
If the dough’s sticky, use damp hands to press it into the pan. It’s easier to spread that way. You can try using a spatula, or even wax paper, but I have never had luck with either.
Don’t overbake. The center should jiggle slightly. You want the center barely set.
Use any chocolate chips you like. Semi-sweet, milk, dark, mini, or chopped bars all work.
Line the pan with parchment, leaving an overhang. Once cooled, lift the whole thing out and slice on a cutting board.
A pizza rocker or large sharp knife gives the cleanest cuts.
Cool completely before slicing. If you want neater squares, chill the whole pan first.
More Southern Dessert Recipes You Don’t Want to Miss
FOLLOW US ON SOCIAL MEDIA AND SAVE THIS RECIPE
SIGN UP TO RECEIVE NOTIFICATIONS AND NEVER MISS AN UPDATE
Want to See The Kitchen Tools We Love? Check Out Our Amazon Storefront For Some of Our Favorite Gadgets, Gear, and Ingredients! This is an affiliate link, we may earn commission from your purchases.
This recipe was written and tested by a human.
Editor: Oliver Baysinger