
Amazon Associates Disclosure We are a participant in the Amazon Services LLC Associates Program, an affiliate advertising program designed to provide a means for us to earn fees by linking to Amazon.com and affiliated sites.
Three Methods to Grind Your Own Beef

Illustrated tutorial of Three Methods to Grind Your Own Beef. If you have never made your own ground beef, you’re in for a surprise.
Grinding your own beef is an excellent way to elevate your burger or meatloaf game to a new level. The texture and flavor beat anything you buy at the store.
This post has some meat processing, so it might not be the most sightly post on our blog. There is a lot of raw meat.
Also, this post is about creating a superior product compared to what you can get at the store, and making your own ground beef is always going to be more expensive than buying ground beef at the store.
Your local mega-mart is going to use scrap cuts of beef to make up their ground beef. With this recipe, I’ll be focusing on using quality cuts to drastically improve the quality of ground beef.
There are pretty much three ways to make ground beef at home. Grinding Beef Three Ways each have their own pros and cons.
This post contains affiliate links.
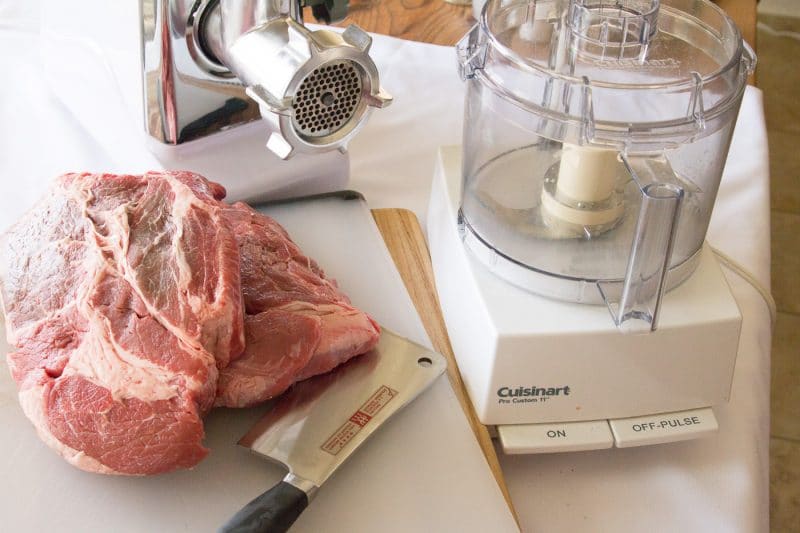
TOOLS
- Meat Cleaver
- Pros: Great chunky irregular texture, very cheap to do, great for small batches, and great stress reliever
- Cons: Time consuming, tears up cutting boards, not good for medium to large batches of meat (anything more than a pound)
- Our recommendations: Henkel 6″ Meat Cleaver or Wusthof Classic 6″ Cleaver
- Food Processor
- Pros: great chunky texture, very quick, great for small and medium batches, can be cleaned in your dishwasher
- Cons: Requires you to own a good food processor, not good for large batches
- Our recommendations: Cuisinart Pro Custom 11-Cup Food Processor – If you don’t already have a food processor, these models virtually last forever and you want something on the beefy side. This food processor almost deserves a post of its own.
- Electric Meat Grinder
- Pros: adjustable texture, great for large batches, consistent product, can often be used as a meat stuffer for sausages
- Cons: Requires a meat grinder, very time consuming to clean grinder, has to be hand washed
- Our recommendations: STX International STX-3000 Heavy Duty Meat Grinder. You might also be able to find a grinder attachment if you own a stand mixer. If you have a handed down meat grinder from your parents or grandparents, you can use these too. However, I don’t recommend tracking down a new one. From what I can tell, it appears manufacturers aren’t doing a good job making these anymore.
Some other tools you might want to consider when grinding meat:
- Nitrile Gloves – Also good other icky stuff around the house
- Large wood or plastic cutting board: John Boos 18″ by 24″ Wood Cutting Board or OXO Good Grips Carving and Carving Board
- Stainless Steel Bowls
- Gallon Size Freezer Bags
CUTS OF BEEF
Once you have the tools, all you need is some meat. If you have a local butcher or have connections to a local meat processor, go that route. For ground beef, any cut can really be used, but we have some recommendations.
- Use any large primal cuts that have a decent fat content: chuck roasts, brisket, or short rib. We prefer chuck roast because it’s 15-20% fat right out of the gate
- Don’t use very lean cuts of beef. Don’t use tenderloin. These will give you very tight and dry pieces of beef.
GRIND SIZE
Now that you have your tools and your cuts figured out, think about the grind size you want.
- Chunky: fantastic for stews and chilis or anything that is cooked low and slow.
- Medium grind: Great for spaghetti/meat sauces, tacos, and burgers.
- Fine grind: Perfect for burgers, meatloaf, and tacos.
PREPARE THE MEAT
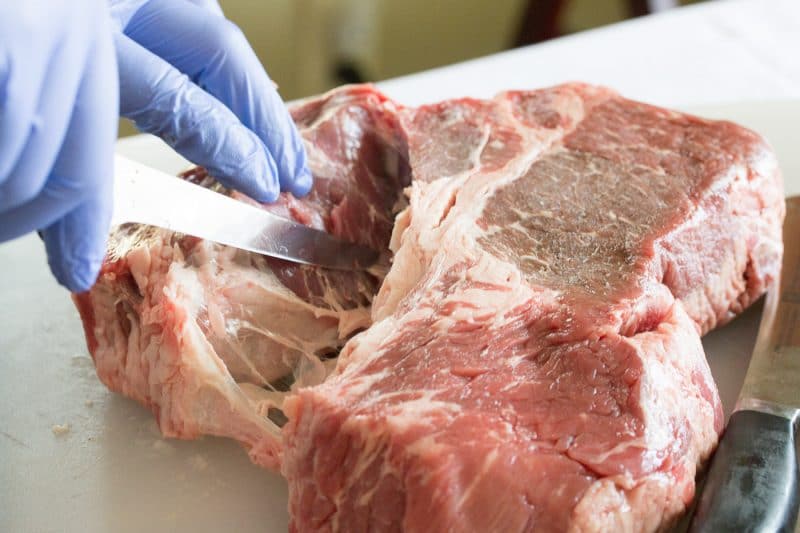
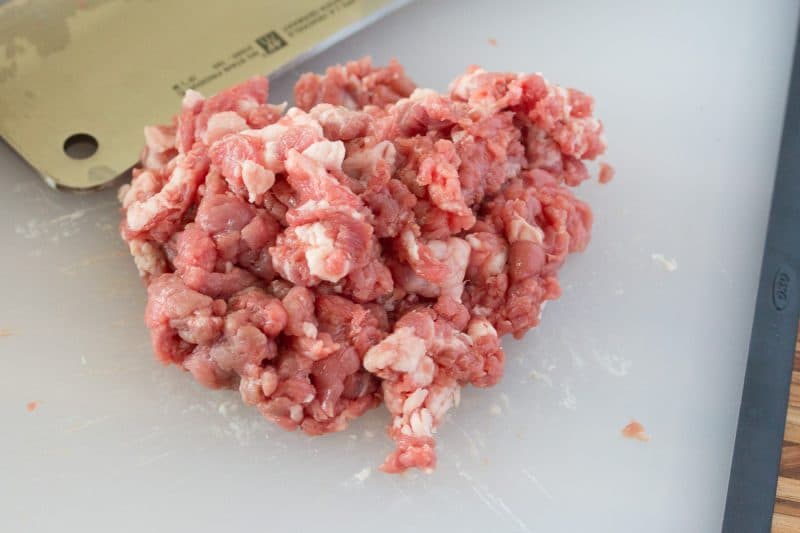
Next, you need to prepare your meat for grinding. I like to cut the primary muscle groups on the primal cut. This is to reduce the amount of connective tissue.
I’m not avoiding fat. I’m trying to avoid anything that will give the ground beef a chewy or gristly texture. I also try and remove as much silver skin as possible.
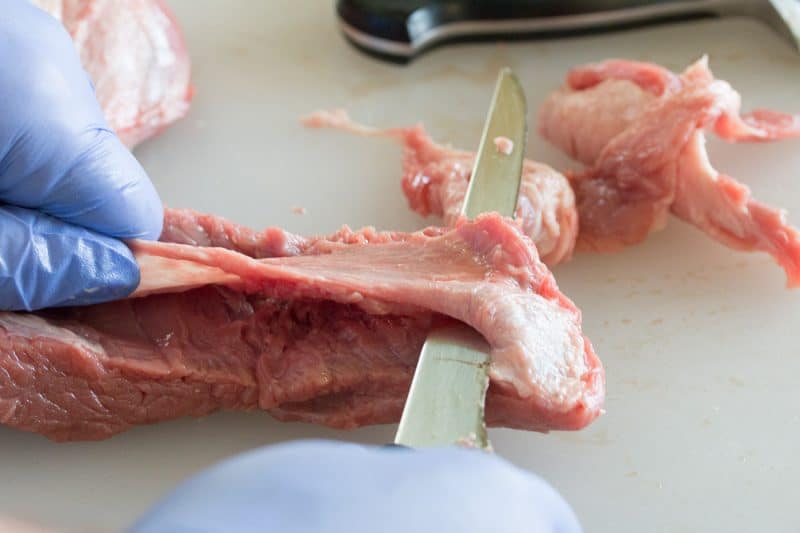
The kind of meat you are trying to avoid is on the left in the picture below. The meat on the right is kind of what you’re looking for.
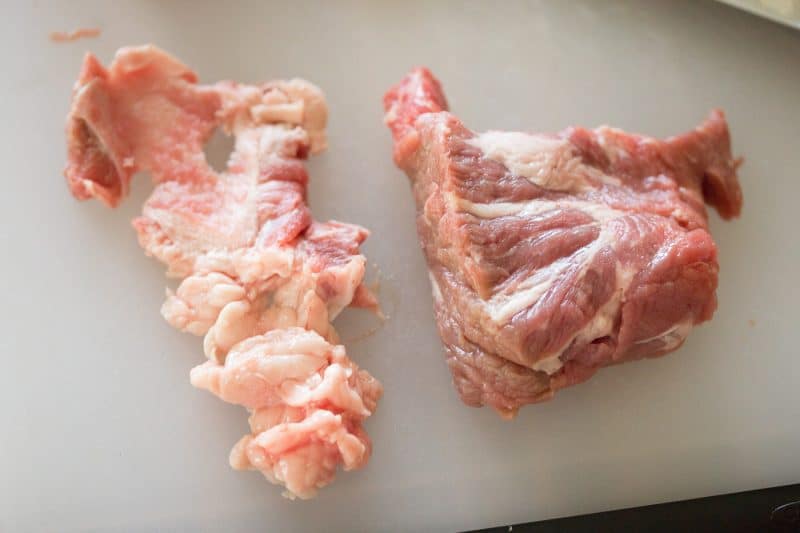
The more you do this, the more experience you’ll get on what should be trimmed and what shouldn’t be. You’ll also notice a textural difference between fat and gristle. Good fat will have nice firm texture and you’ll often find it in large pieces.
You’ll want to cut your large pieces of meat into roughly one-inch cubes.
For grinding, you want your meat as firm as possible. The more firm the better the final texture will be. You’ll need to find a way to toss your meat in the freezer for about 30-40 minutes.
You want your meat to firm up, but not completely freeze and get hard. If you have a sheet pan that will fit in your freezer, place your meat on the sheet pan in an even layer.
If you don’t have a sheet pan that will fit like me, place your meat in a stainless steel bowl (any metal bowl will work) and place the meat along the sides of the bowl to maximize the surface area exposed to the cold. I have an example below.
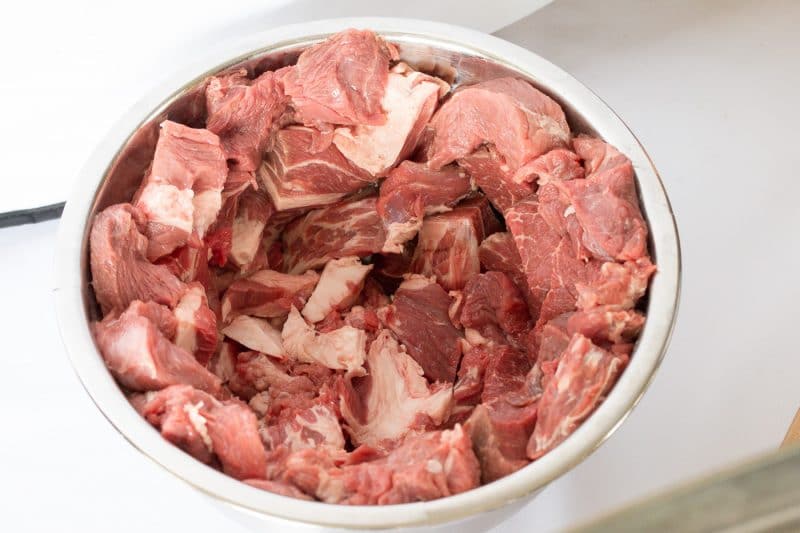
Place your meat in the freezer for at least 30 minutes. If your meat is still super squishy, stick it back in for 10 minutes and check it again. You want firm, but not hard.
Now that your meat is firm, we can start to grind.
USE MEAT CLEAVER
Start by using roughly 6 oz of meat (about a handful) on a cutting board. Just start whacking at it. Seriously. I usually go in one direction across the meat and then go across the meat 90 degrees to the first way. You can see this in the figure below.

Then bunch up the meat and repeat the process until your meat reaches your desired chunkiness.
You’re now ready to cook with your finished product. I like to go with a rough grind for chili using this method.
Using the Food Processor
Using the food processor is probably my favorite way of making ground beef. I always have the food processor easily on hand in the kitchen, so ground beef is easily obtainable at a minute’s notice.
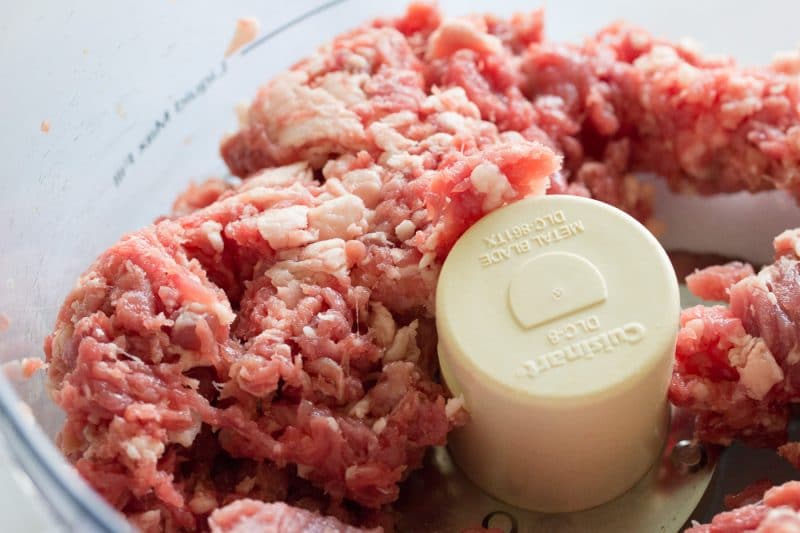
Setup your food processor and place about 8 ounces of meat in the food processor.
You don’t want a huge pile or the food processor absolutely full. You want plenty of working room.
If you’re not careful, you can over-stuff your food processor and you’ll never get those blades spinning like you need.
See the photo below for a rough idea of how much meat you’ll want to stick in your food processor.

Pulse the food processor until you get your desired texture.
Your food processor might struggle to get up to speed during the first few seconds of the pulse, but just give it a second and it should spin up to full speed.
This is the primary reason for not wanting to overstuff it. You want your meat to get some loft during the process.
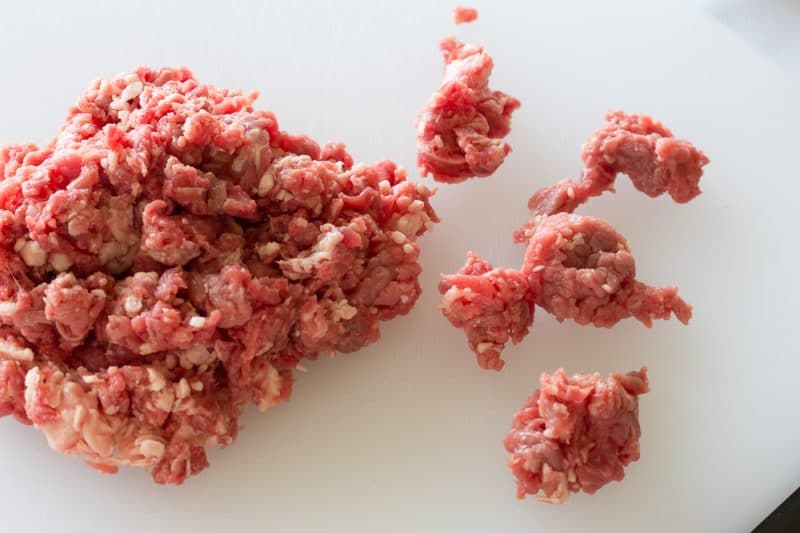
Usually, with the food processor, there always seems to be a few pieces that never meet the blade.
So you have this good texture with a few hunks of beef in it. When I get to my desired grind size, I place the meat on a cutting board or into a bowl and I roughly sift through it looking for these large chunks.
I’ll stick these chunks back in the food processor or I’ll stick them in next batch of meat to be ground.
An example of these chunks can be seen below. Chunks and larger pieces are on the right.
If you don’t want to put them through the grinding process again, you can just always take a knife to them.
Using a Meat Grinder
Using a meat grinder is probably my favorite way to make ground beef because it creates the best and most uniform texture for ground beef.
Before you begin setting up your grinder, you’ll want to place all of the grinding components in the freezer. This will include the hopper, auger, cutting plates, and dies.
You don’t want metal parts to suck the nice cold firm texture out of your meat. I usually toss my parts and meat in the freezer at the same time.
I normally like a fine grind on my ground beef, so I use the smallest die on my STX-3000.
Once cold (about 30 minutes) setup your grinder and turn it on to the slowest speed. Place in your meat and use the recommended plunger to push the meat down into the grounder.
DO NOT use your fingers to push meet down into the auger unless you want to visit the ER and taste human flesh for the first time.
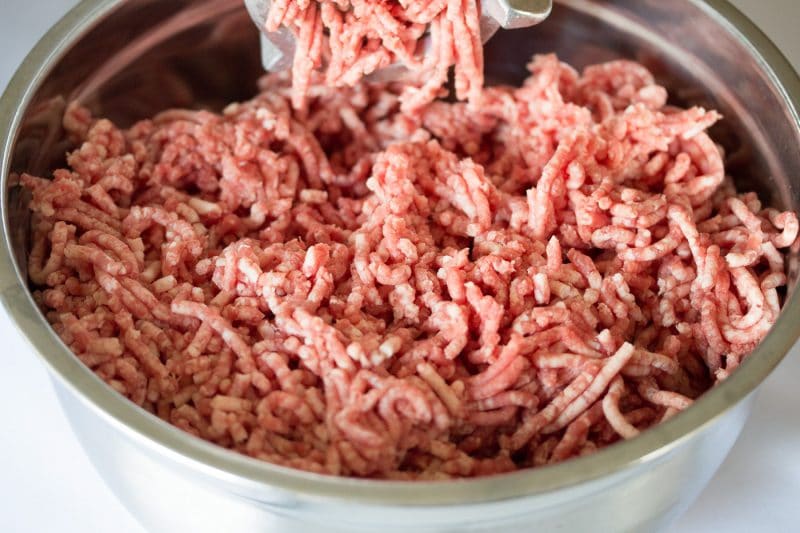
After your second or third piece of meat to be put into the auger, beautifully ground beef should be coming out of the die in the front of the grinder.
I place a steel bowl under the front of the auger to catch the ground beef.

You can grind a large quantity of ground beef very quickly with an electric grinder. I usually use my grinder if I plan on grinding three or more pounds in a session.
So let me be honest. I love my meat grinder and the primary reason I don’t use it more frequently is that it’s a pain in the ass to clean.
You can’t stick the internal components of a grinder into a dishwasher because the warm moist environment will cause them to rust. Plus, I’m not convinced dishwasher will get the parts cleaning enough to my satisfaction.
I use my grinder for large batches of meat, so that means my meat isn’t being cooked shortly after grinding. If your grinder isn’t spick and span clean, critters can find ways of hiding in the components which can make you sick. So the pain in the ass part is cleaning the components.
I always clean my grinder EXTREMELY thoroughly after every single use.
Buy yourself a scrub brush or a very nice bottle brush and give everything inside and out a good scrubbing.
I’ll spray everything down with a bleach solution (this might pit your die some if you leave the bleach on too long) and give it a rinse. I then thoroughly dry everything and place it in a bag of rice to absorb any remaining moisture.
What to do with Your Ground Beef
What you do next with your beef is completely up to you. You can either cook it or store it.
Cook it immediately for the best results, but your meat should last a few days in the fridge.
I wouldn’t go more than 3 days but tend to be a little paranoid about leaving ground meat products laying around for too long.
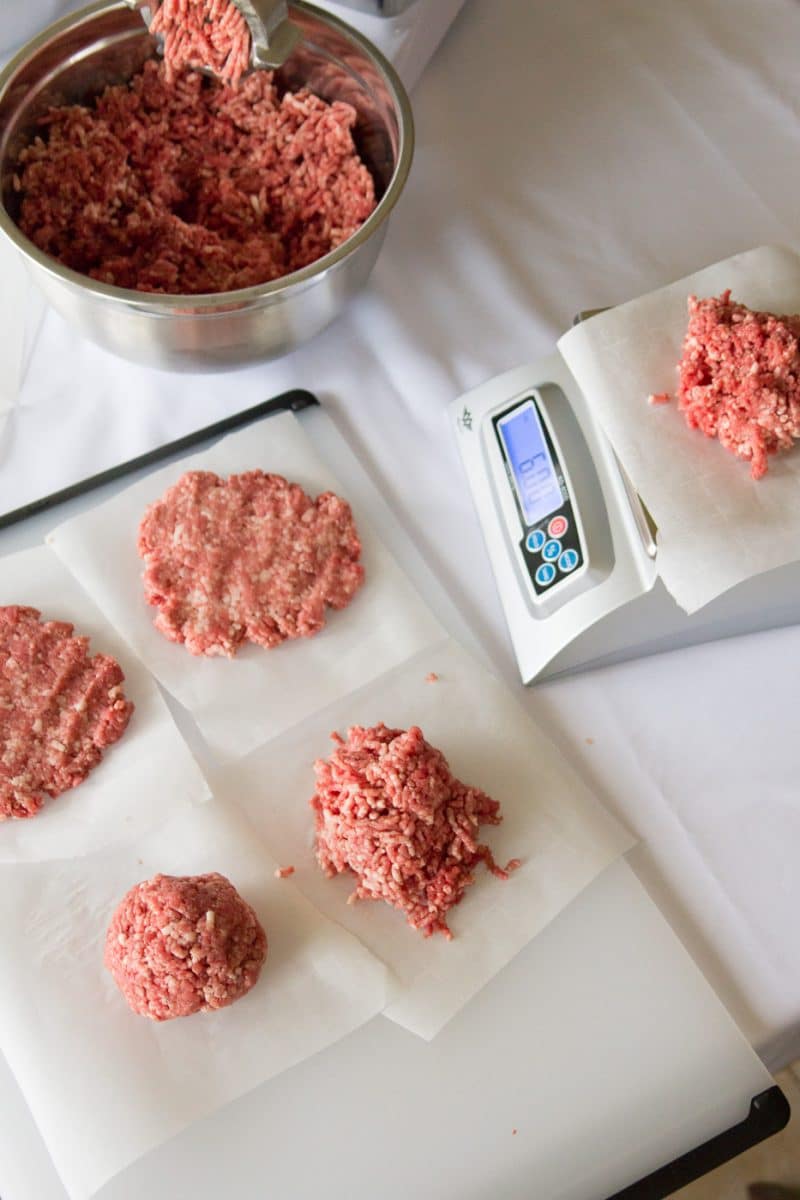
My favorite way to prepare freshly ground beef is to turn them into hamburger patties. Weigh out 6-ounce portions. Then I very lightly pack them into a ball. Then I place them on a piece of parchment paper that’s about 6 inches by 6 inches square. Then using the palm of my hand I flatten each one until they are about half an inch thick.
Do not clean up the edges to make them look like perfect circles. The little nooks and crannies will turn into crispy little pieces of deliciousness when cooked on a grill.
LONG TERM STORAGE
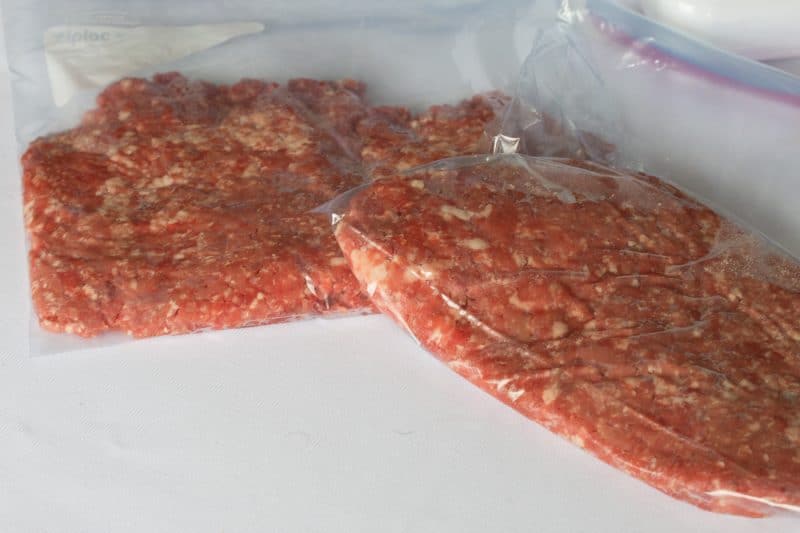
For long-term storage, I like to freeze my ground beef immediately after grinding. I weigh my meat into one pound batches.
I place each back into a ziplock baggie. In the photos below I used bags that were a little too large, but the goal here is to place your meat in the bags and then push the meat flat.
Pushing the meat flat serves two purposes. One, the meat will be able to stack in the freezer. Second, the meat will thaw much quicker and more easily than if it was left in big large chunks.
Anyways, that’s pretty much the basics of grinding your meat at home. I hope this post has given you information and the courage to grind your own beef. Seriously, just try it once. You’ll be surprised at how awesome your ground beef projects will turn out.
RECIPES USING GROUND BEEF
Copycat Steak n Shake Chili-Mac
FOLLOW US ON SOCIAL MEDIA AND SHARE THIS GROUND BEEF TUTORIAL
SIGN UP FOR NOTIFICATIONS AND NEVER MISS A NEW POST