
Amazon Associates Disclosure We are a participant in the Amazon Services LLC Associates Program, an affiliate advertising program designed to provide a means for us to earn fees by linking to Amazon.com and affiliated sites.
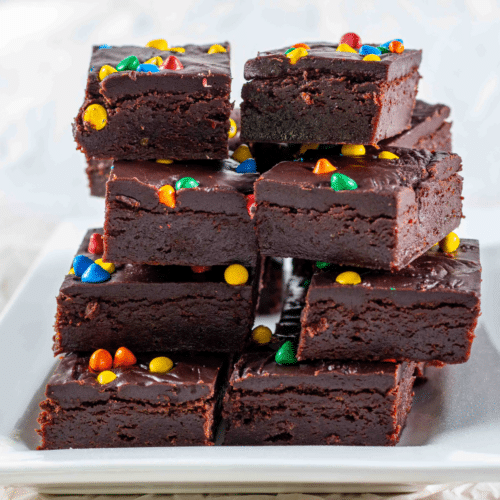
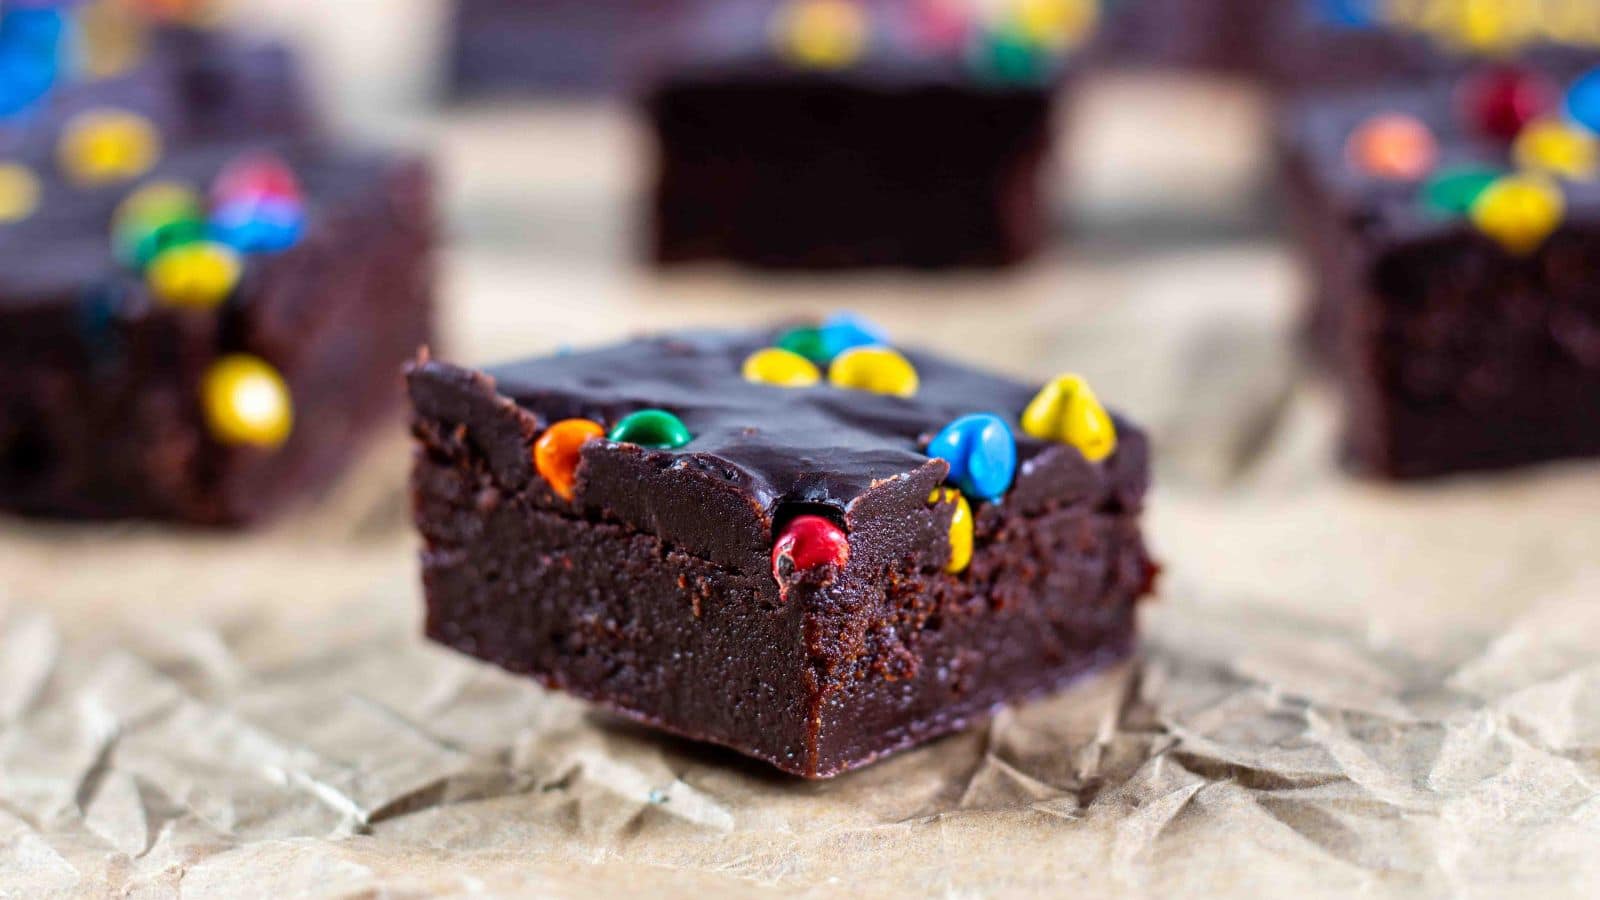
Rainbow Brownies
If you grew up on those chewy lunchbox brownies with rainbow chips on top, you already know where this is headed. Whether you call them Cosmic Brownies or just Rainbow Brownies, the goal is the same: a dense, fudgy bar topped with chocolate frosting. Add some rainbow chocolate chips to give it that fun candy crunch. Ours taste so old school, you’d swear they came straight out of your childhood.
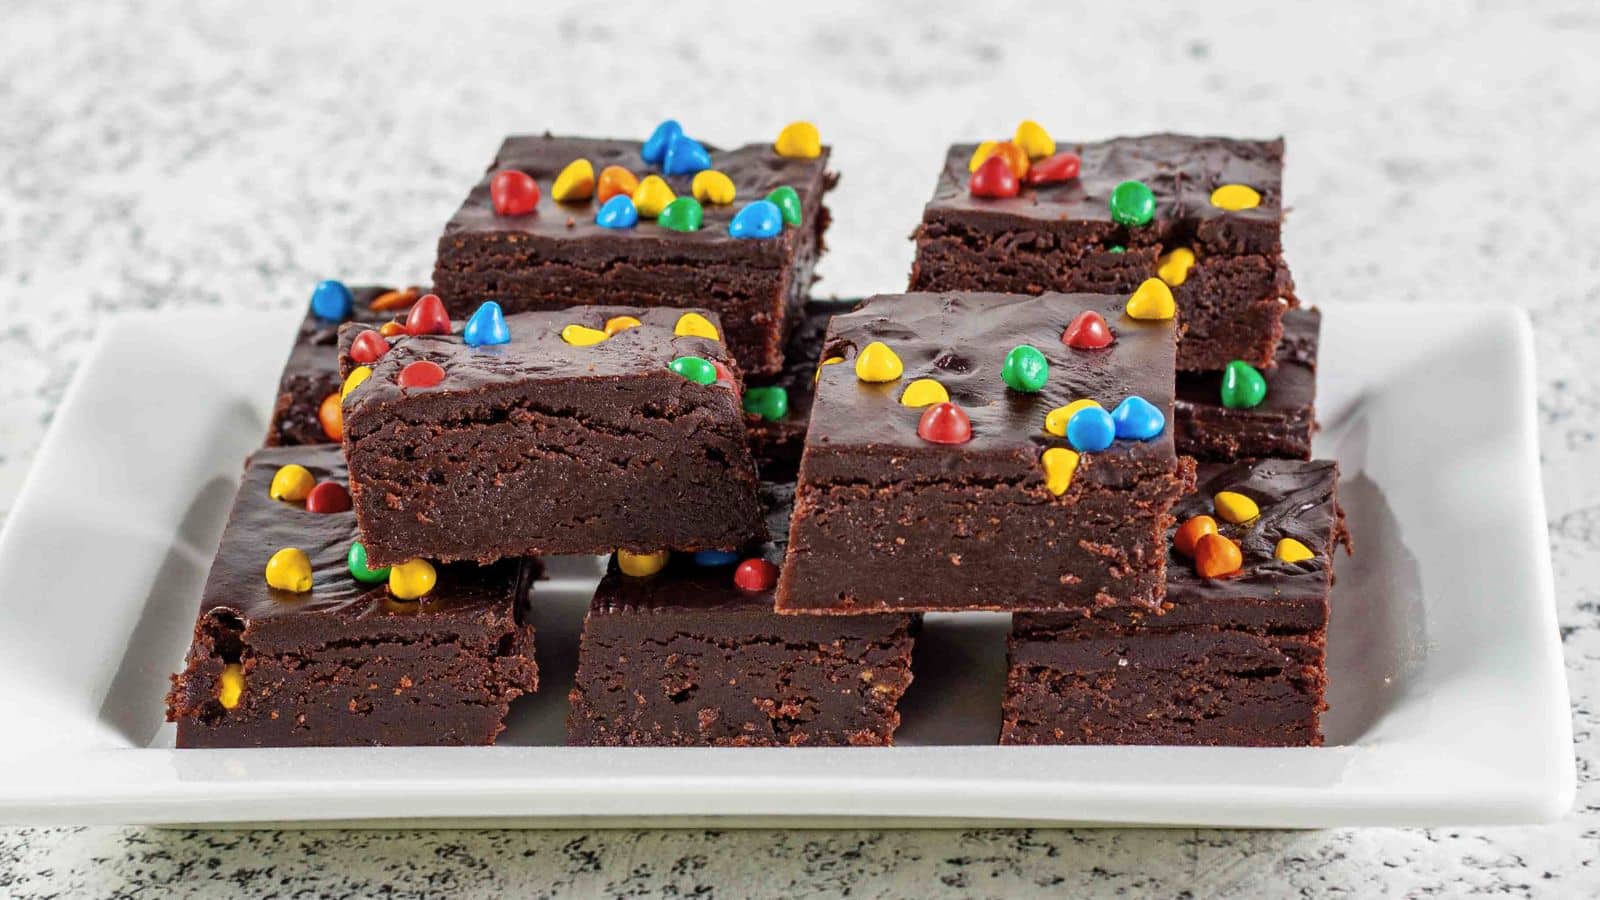
The texture stays soft for days, and the frosting sets up perfectly in the fridge. Mystery ingredients with weird aftertastes are why making your own just makes more sense. You’ll have a homemade dense, fudgy brownie bar that your whole family would be happy to see packed for lunch.
Don’t miss the good stuff! Scroll down past the recipe card for helpful Pro Tips and additional information.
Rainbow Brownies
Ingredients
Brownie Base
- 7 oz dark chocolate chopped (about 1¼ to 1½ cups), 2 of the 3.5 oz bars, 72% cocoa
- ¾ cup salted butter (1 1/2 sticks)
- 3 large eggs
- 1 cup granulated sugar
- ½ cup light brown sugar tightly packed
- 1 teaspoon vanilla extract
- ¾ cup all-purpose flour
- 2 tablespoons unsweetened Dutch process cocoa powder
Chocolate Frosting
- 2 cups powdered sugar
- ¼ cup unsweetened Dutch process cocoa powder
- 4 tablespoons salted butter
- 3 tablespoons hot water
- Rainbow chocolate chips or rainbow sprinkles for decoration
Instructions
Brownies
- Preheat oven to 350°F.
- Spray a 9×13-inch cake pan with non-stick spray, then line with parchment paper, allowing some overhang for easy removal. Spray the parchment paper with additional non-stick spray.
- In a heatproof bowl set over simmering water (double boiler style), melt the chopped chocolate and butter, stirring until smooth. You can also microwave in 30-second bursts, stirring between each. Set aside
- In a large mixing bowl, combine eggs, granulated sugar, and brown sugar. Beat on medium-high speed (hand or stand mixer) for 2 to 3 minutes, until lighter in color and slightly thickened.
- Pour in the chocolate mixture, along with the vanilla and mix until incorporated.
- Sift the flour and cocoa into the batter and mix on low speed just until smooth and lump-free.
- Spread the batter evenly in your prepared pan.
- Bake for 20 to 25 minutes, checking at 20 minutes. The edges should be set, and a skewer inserted should come out with a few moist crumbs.
- Let the brownies sit for 5 minutes before icing.
Chocolate Frosting
- Sift the powdered sugar and cocoa powder into a medium or large bowl.
- In a microwave-safe bowl or glass measuring cup, heat the butter and water together just until the butter melts.
- Pour over the dry ingredients and stir until smooth. Use a whisk or mixer if needed.
Assembling the Brownies
- Spread the warm frosting over the warm brownies, using an offset spatula or the back of a spoon to smooth it out as it begins to melt slightly against the surface.
- After 1–2 minutes, top with rainbow sprinkles or chocolate chips before the frosting sets.
- Chill in the fridge for at least a few hours or overnight until fully set.
- Lift out using the parchment, slice with a sharp knife, and store in an airtight container in the fridge for up to 5 days.

Nutrition
Nutrition information is automatically calculated and may vary based on exact ingredients used. For accuracy, consult a registered dietitian or nutritionist.
Pro Tips
- Measure the flour using the fluff and scoop method before sifting.
- I use Better Goods or Ghirardelli dark chocolate bars. Ghirardelli 72% chips work too—just measure out 1 cup, not the full bag.
- Don’t use unsweetened baking chocolate. You’ll be disappointed.
- Hershey’s Special Dark is my go-to cocoa. It’s easy to find and works well here. I also use black cocoa from King Arthur Flour when I have it on hand. It’s readily available on Amazon—[here’s our affiliate link] if you want to go that route.
- Cold butter is fine. You’re melting it anyway.
- Spread the frosting while the brownies are still warm so it melts in just a little.
- Add sprinkles or rainbow chips right away so they stick before chilling. That’s what gives these their rainbow brownie look.
- Parchment tip: Line the pan with two strips—one for the long sides, one for the short sides—with some overhang. Spray between the layers to help them stay put. Makes lifting and slicing a lot easier.
- If your frosting starts to harden because the brownies weren’t ready in time, don’t toss it. Just place your metal or glass mixing bowl over a pot of simmering water and stir gently until it softens. If you prefer a pourable frosting, keep heating until it loosens up enough to pour across the top.
Storage Tips for Homemade Rainbow Brownies
Room Temperature:
- Store in an airtight container at room temperature for up to 4–5 days.
- Cut them and place parchment paper between layers to prevent sticking.
- Choose a shallow, flat container so the frosting doesn’t get crushed.
- Keep them in a cool, dry spot away from sunlight and heat.
For Lunchboxes:
- Wrap individual squares in wax paper, parchment, or snack-size zip bags.
- If the frosting is soft, chill them briefly to firm it up before wrapping—this helps them hold their shape.
- Add a small ice pack to insulated lunch bags during hot months.
Refrigeration (Short-Term Only):
- The fridge can dry them out if left too long. If needed, store for up to a week, tightly sealed.
Freezer-Friendly:
- Wrap each bar in plastic wrap, then place in a freezer-safe container or zip bag.
- Freeze for up to 3 months. Thaw wrapped on the counter for a few hours (or eat them frozen, no one is looking).
FOLLOW US ON SOCIAL MEDIA AND SAVE THIS RECIPE
SIGN UP TO RECEIVE NOTIFICATIONS AND NEVER MISS AN UPDATE
Want to See The Kitchen Tools We Love? Check Out Our Amazon Storefront For Some of Our Favorite Gadgets, Gear, and Ingredients! This is an affiliate link, we may earn commission from your purchases.
This recipe was written and tested by a human.
Editor: Oliver Baysinger