
Amazon Associates Disclosure We are a participant in the Amazon Services LLC Associates Program, an affiliate advertising program designed to provide a means for us to earn fees by linking to Amazon.com and affiliated sites.
Cinnamon Raisin Bread

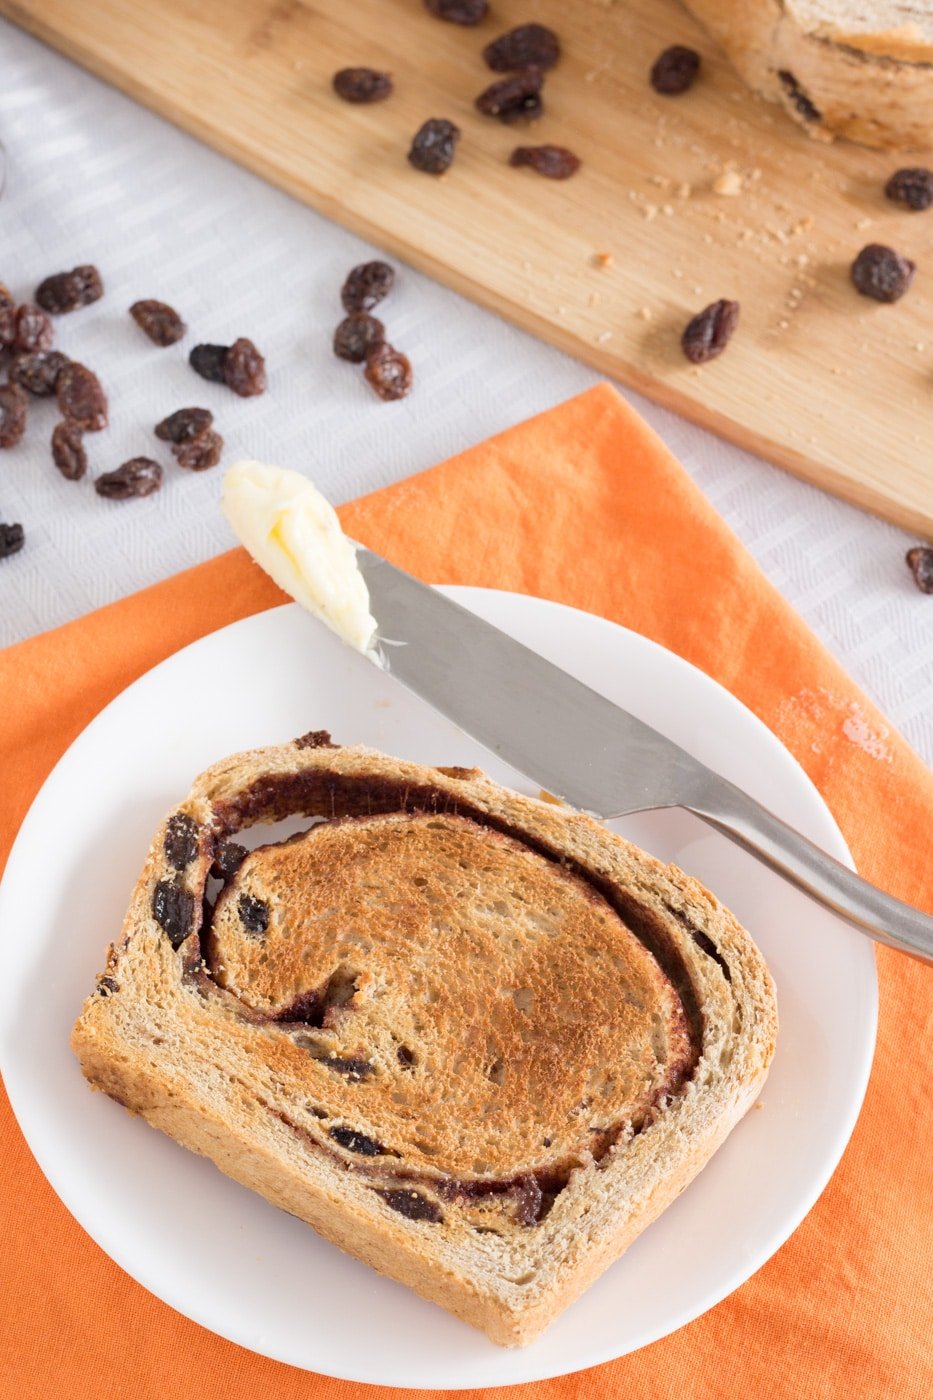
Scratch-made cinnamon bread with raisins baked right into the bread and a gooey and butter swirl beats store-bought every time! This egg-free recipe is perfect for toast or making French toast. Easier to make than it looks!
I make this recipe at least once a month. We love using it for toast for breakfast and snacks.
You might notice there are no eggs in this. It’s not a mistake. Eggs make bread soft like sandwich bread, dinner rolls, and cinnamon rolls.
Since we use ours mostly for raisin toast, I prefer the firmer texture I get without eggs.
RAISINS
I have used dark raisins, golden raisins, and even craisins.
You can even use a combination of dark and golden raisins.
You do not need to soak the raisins in this recipe. Because they are cooked in the bread they will absorb moisture from the bread dough. Doing so would make the bread too moist.
You can use soaked raisins when placing them into the cinnamon sugar swirl but not into the bread dough before rolling. Soaked raisins will fall apart during the kneading process.
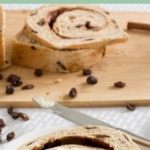
CINNAMON SWIRL
I think the cinnamon swirl is the best part. You don’t have to use it though. Instead, add the cinnamon right into the raisin bread dough and skip the added butter.
You can also skip the sugar and just sprinkle the rolled dough with cinnamon. We definitely prefer it with the butte, sugar, and cinnamon in the swirl.
HOW TO ROLL
The thinner raisin bread dough is rolled before adding the cinnamon sugar filling will determine how many swirls you get.
For lots of thin swirls, roll the dough out as long as you can, making the dough strip no wider than the length of the bread pan you are using.
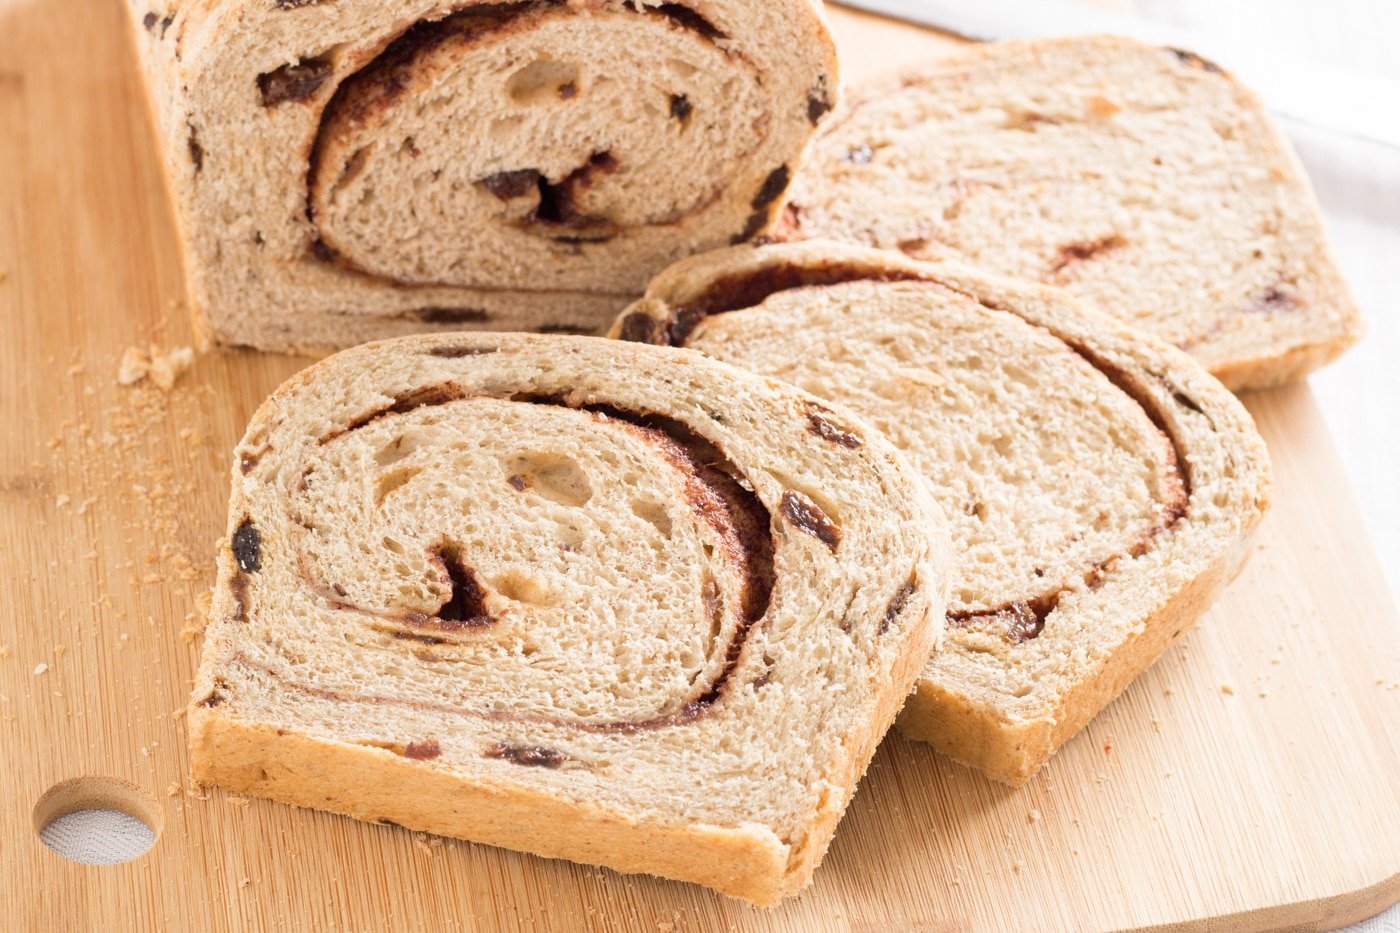
For a thicker cinnamon swirl like we have in the photos roll the dough out about 4 times the width of the pan.
Depending on the heat and humidity in the kitchen I get always get at least one large swirl, this time I got about 1 1/2.
When you slice this bread you might find a hole or gap that runs through the loaf. It’s OK, mine does it most of the time.
The butter in the filling prevents the dough from sticking to itself as it rises.
I have tried tight rolling and rolling it loosely and it still happens the majority of the time.
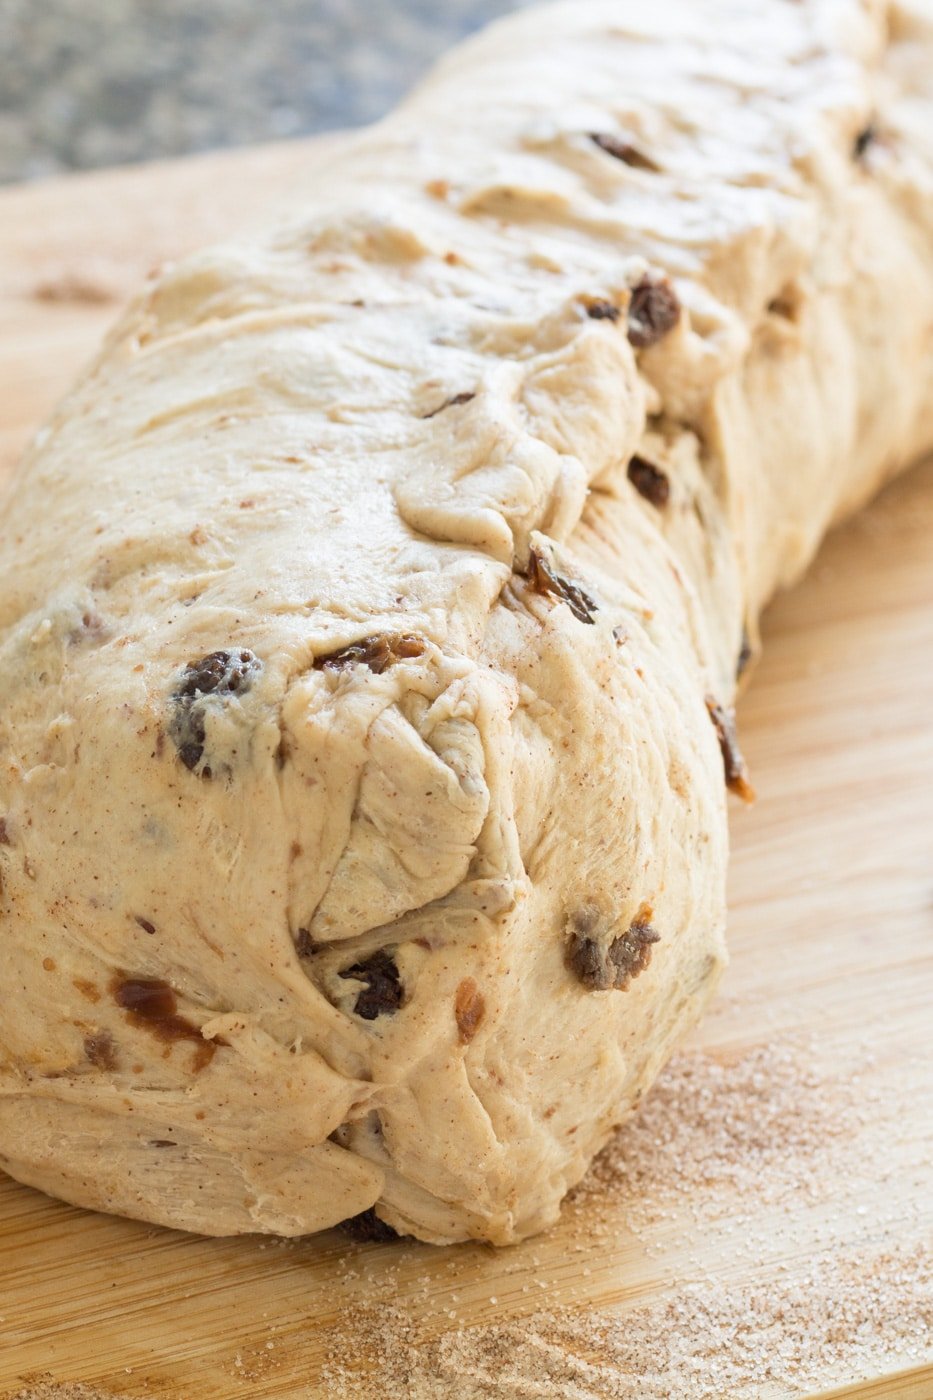
When rolling it is really important you make sure that the seam is sealed, the ends are tucked in and pinched together.
The loaf needs to be placed seam-side down in the pan because any loose ends will pop open during baking.
PAN SIZE
My recipe uses a large loaf pan.
I use my Wilton 9.25” X 5.25” X 2.75” loaf pan. This post contains affiliate links.
Two smaller pans can be used, reduce the baking time to 30 minutes.
HOW TO SLICE
A sharp bread knife is great for this task, but I have the best luck using an electric knife.
An electric knife produces a constant sawing motion that can cut through the thicker crust without mangling or smashing the rest of the loaf.
When using a bread knife lay the loaf of bread on its side and cut from the side. Doing this will keep the pressure needed to cut through the crust to a minimum and will reduce the amount of squishing.
HOW LONG DOES IT LAST?
About 3 to 4 days at room temperature when stored in an airtight bag or container. Since there are no chemicals, the shelf life is short.
5 to 7 days if stored in the refrigerator.
If there is mold on your bread, toss it out!
This can be frozen as well for up to 3 months. For the best results, freeze the bread unsliced. Allow the bread to thaw completely before attempting to slice it.
MORE BREAD RECIPES YOU’VE GOT TO TRY
Soft and Fluffy Bread Machine Cinnamon Rolls
FOLLOW US ON SOCIAL MEDIA AND SAVE THIS RECIPE
SIGN UP TO RECEIVE NOTIFICATIONS AND NEVER MISS AN UPDATE

Cinnamon Raisin Bread
Equipment
- Bread Pan
Ingredients
- 4 cups all-purpose flour
- 2 teaspoons instant yeast
- 6 tablespoons granulated sugar divided
- 1 teaspoon salt
- 3/4 cup 110⁰F water
- 3/4 cup milk warmed to 110⁰F
- 4 tablespoons salted butter softened and divided
- 5 teaspoons ground cinnamon divided
- 1 teaspoon vanilla extract
- 1 tablespoon vegetable oil or other light cooking oil
- 1 cup raisins
Instructions
- Combine the flour, yeast, and 2 tablespoons of granulated sugar in a mixing bowl and stir to combine.
- Add the salt and mix.
- Add the warm milk, water, 2 tablespoons softened butter, salt, 2 tablespoons granulated sugar, vanilla, and 2 teaspoons of cinnamon.
- Using a dough hook, mix the ingredients until it forms a ball. If the dough appears too dry, add additional milk or water 1 tablespoons at a time. If the dough is sticking to the sides of the bowl, add flour 1 tablespoon at a time until it is a cohesive ball and doesn’t stick.
- Knead the dough on medium speed for 3 to 5 minutes or until the dough is smooth and elastic.
- Add the raisins and knead for 1 more minute or until the raisins are evenly distributed.
- Pour the vegetable oil into a large bowl, remove the dough mixing bowl and place it into the bowl with the oil, turning the bread dough to coat with oil.
- Cover the bowl with a kitchen towel and place in a warm, draft-free area of the kitchen and allow to rise for 1 hour or until doubled in size.
- Lightly flour a work surface, deflate the dough and turn out onto the floured workspace.
- Roll dough out into a long rectangle no wider than the long side of the loaf pan. A thinner dough will provide more swirls.
- Spread the remaining 2 tablespoons of butter evenly over the dough, leaving one-inch of one short end of the dough uncovered.
- Mix the remaining sugar and cinnamon together and sprinkle evenly over the butter.
- Starting at the short end covered with butter, tightly roll the dough towards the short end without butter.
- Pinch the butter-free dough into the outside of the loaf to seal. Push the ends of the loaf into itself so there is no exposed cinnamon swirl filling.
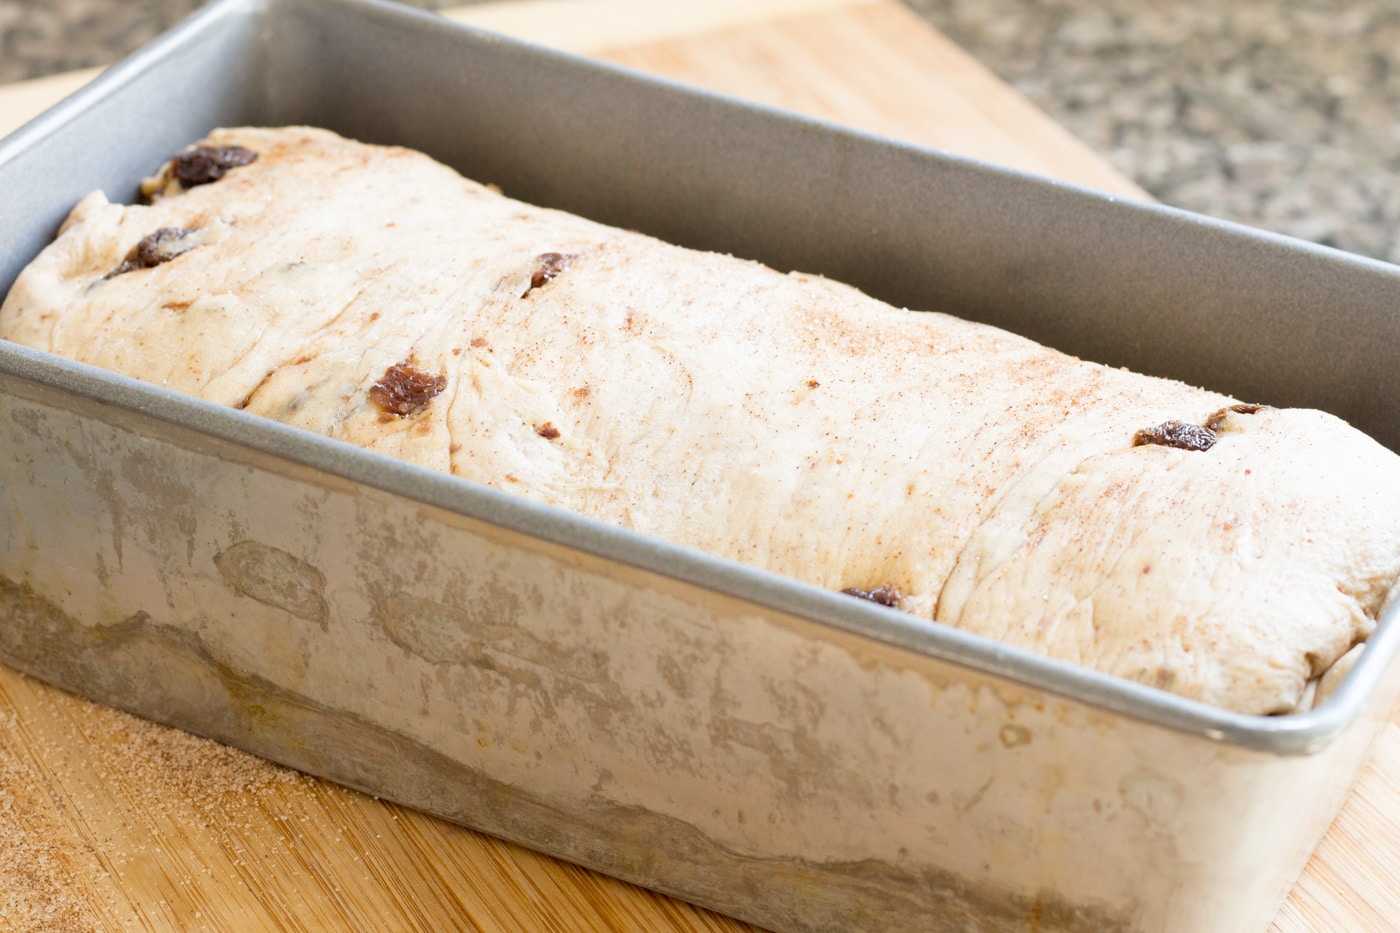
- Prepare a large bread/loaf pan by spraying with baking spray and place the finished loaf into the bread pan seam side down.
- Cover the loaf with a cloth and place back into a warm, draft-free area and allow to rise for an additional 45 to 60 minutes. When the dough has started to rise above the edge of the pan it is ready to be baked.
- Preheat an oven to 350⁰F.
- Place the bread into the preheated oven and bake for 45 minutes. The bread is done when it sounds hollow when tapped, is dark golden brown on top and the bottom of the loaf is golden brown.
- Remove from the oven and remove the bread from the pan.
- Place the bread onto a cooling rack or lint-free kitchen towel and allow the bread to cool completely before attempting to cut it.
Notes

Nutrition
Nutrition information is automatically calculated and may vary based on exact ingredients used. For accuracy, consult a registered dietitian or nutritionist.
Wow this looks so good Beth! I’ve been wanting to make raisin bread forever! My kids live it too. Never thought about using an electric knife..,such a good idea!
Hi Marie!
THanks for stopping by! Raisin bread is really simple to make!
Cheers!