
Amazon Associates Disclosure We are a participant in the Amazon Services LLC Associates Program, an affiliate advertising program designed to provide a means for us to earn fees by linking to Amazon.com and affiliated sites.
New York Style Cheesecake Recipe
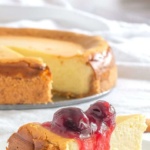
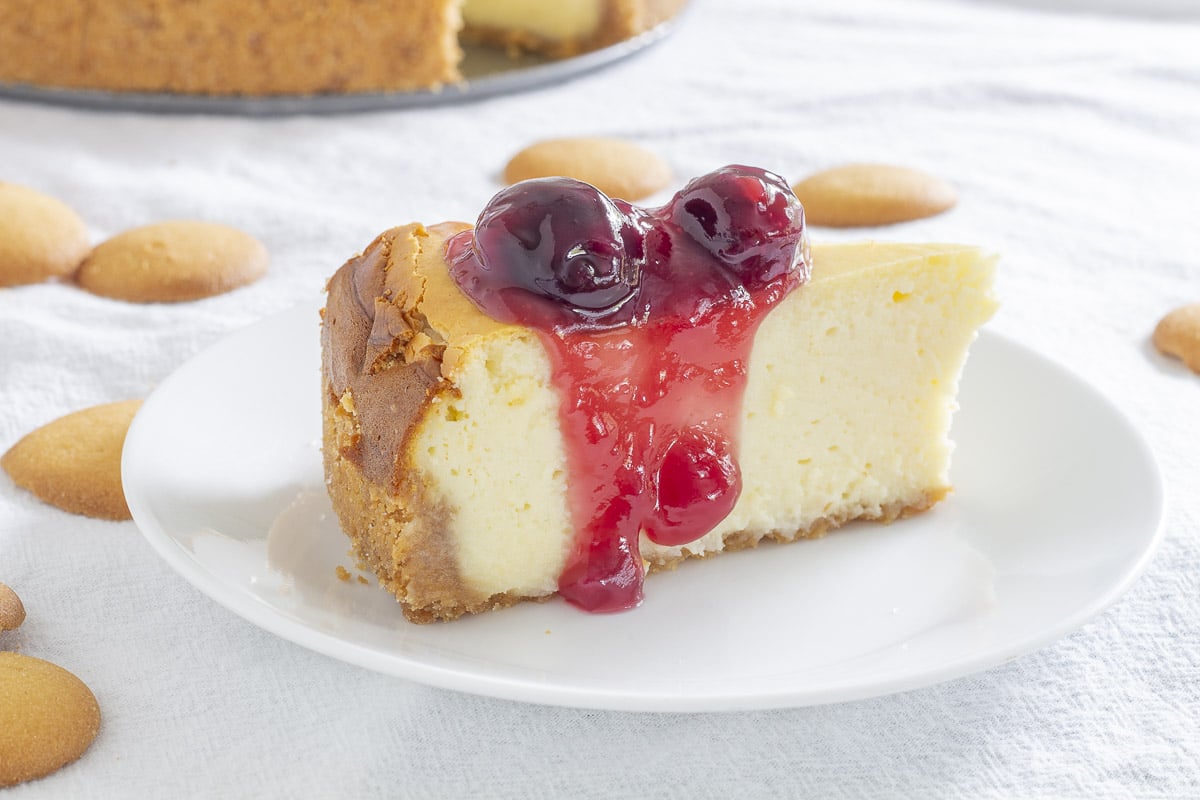
Are you ready to make the perfect New York Cheesecake? You can easily craft a beautiful, tall cheesecake that is crack-free and creamy by following our helpful tips and tricks. Don’t worry if you’ve had trouble making cheesecakes – we’ll cover some practical advice so your masterpiece turns out just as you imagined!
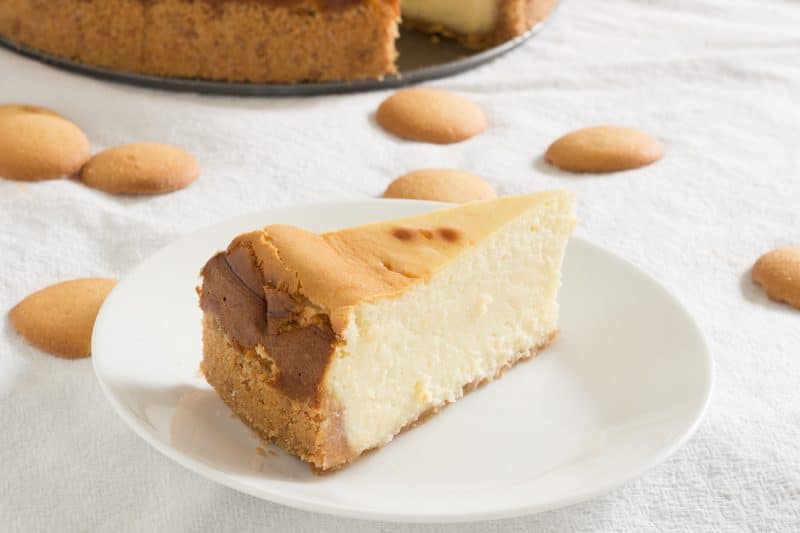
The best cheesecake recipe is one that has a rich, creamy texture. The crust should be light and buttery, with a hint of crunchiness from the crust. Inside the filling, the combination of real cream cheese, eggs, and just the right amount of sugar makes it impossible to resist. It’s an incredibly versatile dessert with so many different topping options like fresh fruit, chocolate chips, caramel sauce, or just a simple dusting of powdered sugar.
INGREDIENTS & SUBSTITUTIONS
Vanilla wafer crumbs
Granulated Sugar
Salted butter
Cream cheese – I always use full-fat cream cheese.
All-Purpose Flour – You can use any wheat flour here; use cornstarch if you need a gluten-free filling. All of these are a 1:1 substitute.
Salt
Large eggs
Greek yogurt – Sour cream and heavy cream are both acceptable substitutions in equal amounts.
Vanilla extract
HOW TO MAKE CHEESECAKE
- Gather your ingredients and preheat your oven to 325⁰F!
- Take a springform pan and coat it generously with baking spray or butter.
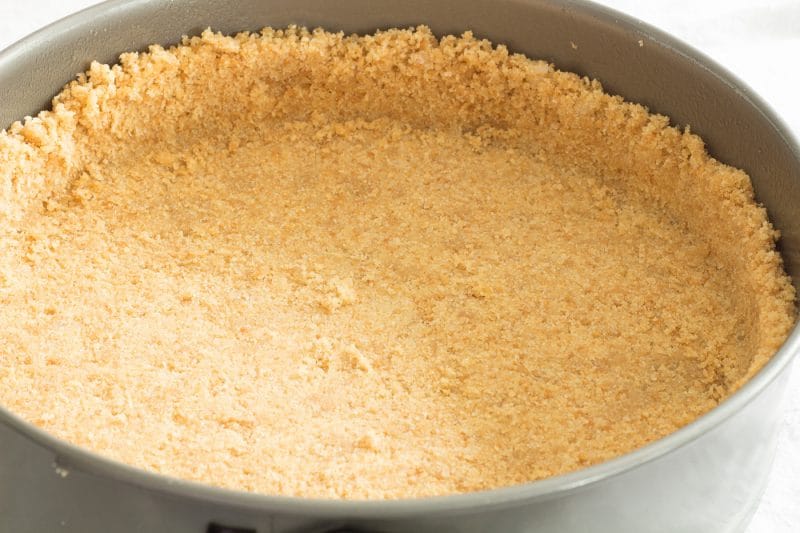
- Now it’s time to make the delicious crust: mix vanilla wafer crumbs, 1/4 cup of granulated sugar, and melted butter until combined.
- Press the crust mixture into the springform pan and press it up the sides.
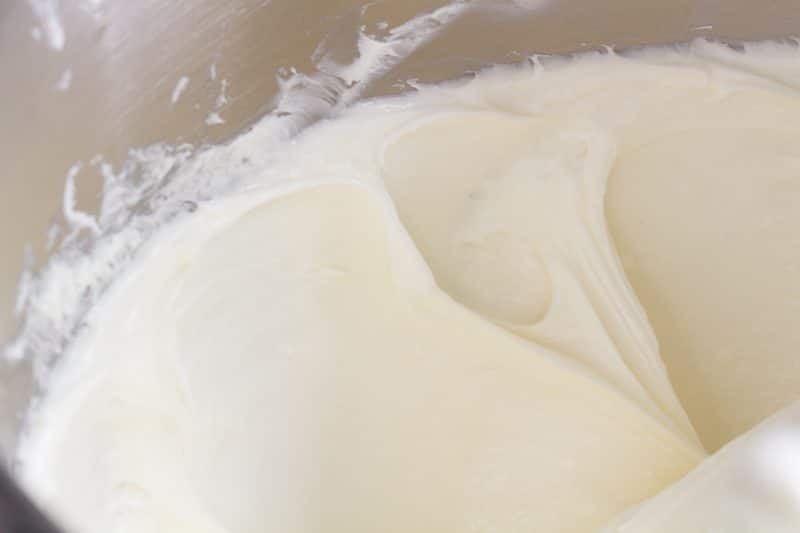
- Now for the filling: beat together cream cheese and sugar until smooth. This step may take up to 5 minutes.
- Add in small amounts of flour, one tablespoon at a time, until fully incorporated.
- Now add eggs, one at a time, mixing on low speed until each egg is incorporated before adding the next.
- Once all the eggs are in, add Greek yogurt or sour cream and vanilla. Mix on low speed just until combined.
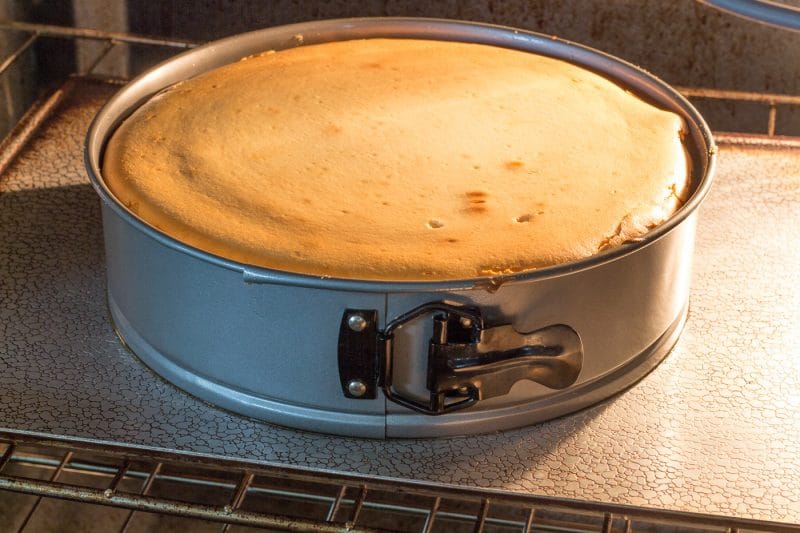
- Pour the cheesecake batter into the prepared springform pan and place it onto a cookie sheet. Put both into your preheated oven and bake at 325⁰F for 50 minutes.
- After this time, raise the temperature of your oven to 350⁰F and continue baking for an additional 10-20 minutes or until a thermometer placed halfway between the center of the cheesecake and the sides of the pan reads 175⁰F.
- Once done baking, turn off your oven and open the door; leave it cracked open with the cheesecake inside for 60 minutes!
- After cooling, remove the outer ring of the springform pan and refrigerate for 4 hours or until completely cooled.
- Serve plain, topped with fruit or other sweet sauce. Enjoy!
CHEESECAKE CRUST
I use a cookie crust made from vanilla wafers for this recipe. You can use graham cracker crumbs instead for a more traditional cheesecake. I use the graham cracker crust from my cherry delight recipe.
Feel free to substitute that with any cheesecake crust you prefer.
If you want a Brooklyn cheesecake base, you’ll need to use a recipe for a sponge layer base. The best one to use is the one from Juniors.
Remember, more differences exist between a New York cheesecake and one from Brooklyn. The filling from this recipe will have a different tang level than you expect from Brooklyn style.
TIPS AND TRICKS
- Your ingredients should be at room temperature. Allow everything to sit out for at least an hour before starting.
- Take the cream cheese out of the wrapper while it is cold. It tends to stick to the wrapper once it has reached room temperature.
- Only use low speed to combine the filing. Too much air beaten into the filling can cause cracks during baking.
- Be patient. It can take up to 5 minutes of low-speed mixing to get a smooth texture when combing the cream cheese and sugar. The result is worth a few extra minutes at the beginning.
- Place a baking sheet under the springform pan while baking. The crust may ooze some butter that seeps through the pan.
- Note that this recipe uses two different baking temperatures. I do that so the middle cooks through without over-browning the crust and sides.
- Use an instant-read thermometer to check the center of the cheesecake to test for doneness. If the center is 150℉, it is done. Cooking past that temperature can result in a dry cheesecake; the cheesecake will not be set in the middle for any temperature less than that.
- At the end of the baking time, turn off the oven and slightly open the door. Allow the baked cheesecake to rest in the cooling oven for 60 minutes. Cheesecakes are most likely to crack when they are cooled too quickly.
- To get clean slices, heat up a large kitchen knife in hot water, then drying it off before slicing works well.
HOW LONG DOES IT TAKE TO BAKE A CHEESECAKE?
The time it takes to bake a cheesecake will vary from recipe to recipe. The amount of filling and the recommended oven temperature will determine how long it takes to bake. I recommend following the directions for the recipe you chose.
My cheesecake recipe uses two different temperatures and takes about 60 to 70 minutes.

IS MY CHEESECAKE DONE?
After 60 minutes, you can open the door to check. Give the cheesecake a slight shake and see if the middle is still wet and jiggly; if it is, it needs more time.
Check again in another 10 minutes. The center may have a slight movement but should not look like liquid. When it reaches this stage, I use an instant-read thermometer to check. The center of the cheesecake should be 150℉.
Do not remove the cheesecake from the oven. Turn the oven off, open the oven door a few inches, and leave the cheesecake for 60 minutes. Now it is safe to move the cheesecake to the refrigerator. This extra step should reduce cracking.
HOW LONG DOES CHEESECAKE TAKE TO SET?
It will take at least 4 hours for a cheesecake to set after it has been removed from the oven and refrigerated. It tastes better after 8 hours or more, but sometimes you can’t wait that long before you dig in.
An underbaked cheesecake won’t set up no matter how long you leave it in the refrigerator.
DO I HAVE TO USE A WATER BATH?
Nope. I don’t. Instead, I set a small baking dish full of water on the bottom rack of the oven as I preheat the oven and during the first part of the baking process.
I also allow the oven to heat for about an hour before adding the cheesecake. Preheating for a longer time allows the oven to heat evenly, and the dish of water has time to produce humidity inside the oven.
STORING LEFTOVER CHEESECAKE
Leftover cheesecake can be stored in the refrigerator in an airtight container for up to 4 days.
To freeze cheesecake, cut it into individual slices and arrange them on a baking sheet lined with parchment paper. Place the baking sheet in your freezer for about 2 hours or until the pieces are frozen.
Once frozen, wrap each slice individually in plastic wrap and place them in an airtight container or freezer bag and use within three months.
Thawing frozen cheesecake is simple – leave it at room temperature for about 15 minutes before serving!
MORE CAKE RECIPES YOU NEED TO SEE
FOLLOW US ON SOCIAL MEDIA AND SHARE THIS RECIPE
SIGN UP FOR NOTIFICATIONS AND NEVER MISS A NEW POST

New York Cheesecake
Equipment
- Springform Pan
- Cooking Thermometer
Ingredients
- 2 cups vanilla wafer crumbs about 9 ounces of cookies
- 2 cups sugar divided
- 6 tablespoons salted butter melted
- 32 ounces cream cheese at room temperature
- 3 tablespoons All-Purpose Flour
- 1/4 teaspoon salt
- 5 large eggs
- 1/2 cup Greek yogurt
- 1 tablespoon vanilla extract
Instructions
- Fill a cake pan or casserole dish about 3/4 full of hot water and place in the lower half of an oven.
- Preheat oven to 325⁰F, leaving the water-filled baking dish in the oven during this time.
- Allow oven to preheat until the water in the pan begins to steam. This may take up to 45 minutes.
- While the oven is preheating, mix together vanilla wafer crumbs, 1/4 cup of the granulated sugar, and melted butter.
- Prepare a springform pan by coating liberally with a non-stick baking spray.
- Place cookie crumb mixture into the bottom of a springform pan and press evenly into the bottom of the pan and up the sides of the pan about 1 to 2 inches high.
- Place the cream cheese and remaining sugar into a large bowl and beat on low speed until no lumps remain, stopping every 90 seconds to scrape down the sides of the bowl. It may take up to 5 minutes for the lumps to disappear.
- With the mixer running on low speed, add the flour 1 tablespoon at a time.
- Once all the flour is incorporated, stop the mixer and scrape the sides of the bowl.
- Add the eggs, one at a time, mixing on low speed until each egg is incorporated, stopping between eggs to scrape down the sides of the bowl.
- Add the Greek yogurt or sour cream and vanilla. Again using low speed, mix until combined.
- Place the springform pan on a cookie sheet.
- Pour the filling into the springform pan.
- Place the cookie sheet and cheesecake into the preheated oven.
- Bake the cheesecake at 325⁰ for 50 minutes.
- Increase the oven temperature to 350⁰F and leave the cheesecake in the oven.
- Continue baking the cheesecake for an additional 10 to 20 minutes or until a thermometer placed halfway between the center of the cheesecake and the sides of the pan reads 175⁰F.
- When the cheesecake is done, turn off the oven and crack the door. Allow the cheesecake to cool in the oven with the door cracked for at least 60 minutes and up to overnight.
- Once the cheesecake has cooled, remove the outer ring from the springform pan and refrigerate for at least 4 hours.
- Serve plain, topped with fruit or other sweet sauce.
Notes
- This recipe uses two different baking temperatures.
- Use full-fat cream cheese for the best results.
- Start with ingredients left at room temperature for at least one hour.
- Use low speed when combining filling ingredients, including the cream cheese and sugar step.
- Cornstarch can be used as a substitute for flour to keep the filling gluten-free.
- Greek yogurt can be substituted with equal amounts of heavy or sour cream.
- Place a baking sheet with sides under the cheesecake when baking to prevent any butter from oozing onto the floor of your oven.
- Cheesecake is done when the center of it reads 150 on an instant-read thermometer.
- Don’t skimp on the cooling time.

Nutrition
Nutrition information is automatically calculated and may vary based on exact ingredients used. For accuracy, consult a registered dietitian or nutritionist.
This article first appeared on Pear Tree Kitchen