
Amazon Associates Disclosure We are a participant in the Amazon Services LLC Associates Program, an affiliate advertising program designed to provide a means for us to earn fees by linking to Amazon.com and affiliated sites.
Chocolate Covered Cherry Cheesecake Bites

Sometimes you just don’t know if you want a dessert or a piece of candy. Chocolate covered cherry cheesecake bites are a little bit of both!

For chocolate-covered cherry cheesecake bites you can start with a frozen cheesecake, just like I did.
Alternatively, you can make your own cheesecake and use it.
I suppose you would get way more, square-shaped, cheesecake bites out of it you made yourself in a square pan than you can get out of a round pan.
Round is the only way I could buy on the day I went shopping.

If you buy a frozen cheesecake for this, allow it to thaw before trying to cut it into pieces. Cutting up a frozen cheesecake will result in fractured pieces.
You can bet that this is based on experience! It took me just a minute to realize the error of my ways…….
Drain the cherries well or you will get liquid into the chocolate coating and cause it to seize up. Yep, I’m guilty of learning that lesson the hard way too!
Depending on the thickness of the chocolate coating you use will determine how much paraffin wax to add to your chocolate. I like the way the cherry stands out when I make Chocolate Covered Cherry Cheesecake Bites, so I prefer my chocolate a little thinner, thus I use about a quarter of a block of wax.
Paraffin wax tends to come with 4 blocks in a box. Do not use a full block!
Your chocolate will taste funny and feel very waxy in your mouth. Solid shortening can also be used to thin out your chocolate. It just will not set as solid as a mixture with paraffin wax will.
Try a tablespoon at a time until the chocolate is as thin as you would like. Too much though and the chocolate will remain super soft after drying.
Never use water in your chocolate, it will seize up. Do not use butter either, as it contains water.
Overheating your chocolate can cause scorching and the chocolate will no longer be usable. So a low and slow melt is preferred.
Microwave your chocolate on 50% power for 60 to 90 seconds at a time and stir in between rounds.
If you choose to use almond bark or any coating products found in the grocery store, be sure to follow the package directions for heating.
If the directions say melt for 30 seconds at a time, it truly means 30 seconds at a time. While it may take longer to achieve the proper consistency, you will lessen the risk of ruining the chocolate.
A candy melting pot is the absolute safest way to melt chocolate. You may find that you do not need to use any wax when using one.
A double boiler set over low heat is one of the safer methods for melting chocolate. There is even one that has a pouring spout but make double sure you have wiped the bottom clean of any water on the outside of the vessel before pouring out of it or you will get water into your chocolate.
My absolute favorite melting wafers for candy making is Merckens milk chocolate. Wilton is my backup choice.
MORE BITE-SIZED DESSERTS
Dirty Buckeyes, Bacon Covered Buckeyes

FOLLOW US ON SOCIAL MEDIA AND SHARE THIS RECIPE
SIGN UP TO RECEIVE NOTIFICATIONS AND NEVER MISS AN UPDATE

Chocolate Covered Cherry Cheesecake Bites
Equipment
- Toothpicks
Ingredients
- 1 Cheesecake store-bought or homemade
- 16 maraschino cherries
- 16 ounces chocolate wafers
- 2 teaspoons coconut oil
Instructions
- Make or thaw cheesecake. If making a cheesecake, allow it to cool completely before using.
- Drain maraschino cherries and place on several layers of paper towels.
- Cut cheesecake into bite-size pieces and set aside.
- Spray a baking sheet with baking spray or line baking sheet with wax paper.
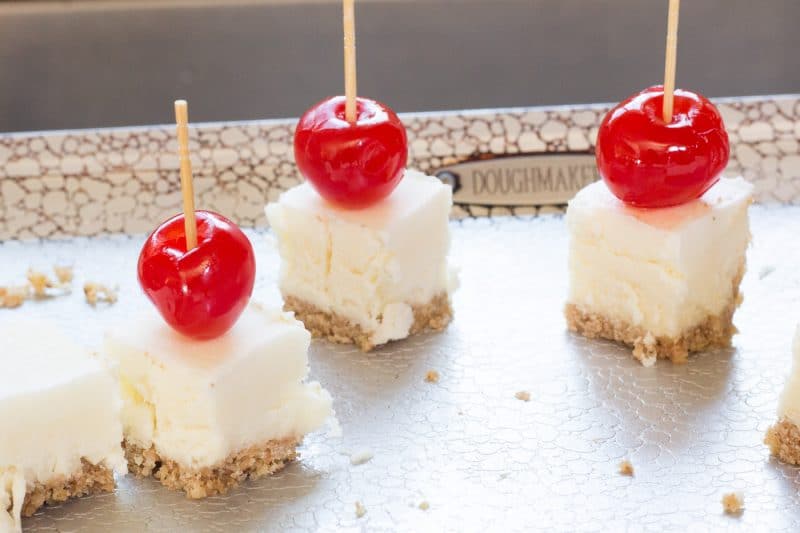
- Cut cheesecake into pieces just big enough to fit under a cherry.
- Skewer a cherry with a toothpick and place on top of a cheesecake piece, pushing the toothpick about halfway through the cheesecake.
- Place on prepared baking sheet.
- Repeat with remaining cherries and cheesecake bite.
- Refrigerate for at least 30 minutes or until the cheesecake has become solid.
- Melt wafers according to package directions, add coconut oil if a thinner coating is desired.
- Remove cheesecake bites from the refrigerator and dip into the chocolate coating, allowing excess to drip off.
- Place back on baking sheet.
- Allow chocolate to set. Refrigeration will speed up this process.
- Once set remove toothpicks and enjoy!
Notes

Nutrition
Nutrition information is automatically calculated and may vary based on exact ingredients used. For accuracy, consult a registered dietitian or nutritionist.
Remember to use our social sharing buttons to follow us on Pinterest and Facebook and leave to show us some love and rate this recipe if you have tried it!