
Amazon Associates Disclosure We are a participant in the Amazon Services LLC Associates Program, an affiliate advertising program designed to provide a means for us to earn fees by linking to Amazon.com and affiliated sites.
Roasted Garlic
Roasted garlic is a simple ingredient, but it packs a lot of flavor. When you roast garlic, it loses its sharp, raw taste and becomes soft and easy to spread. You can use roasted garlic in so many different dishes, from snacks to full meals, and it always makes them taste better.

Garlic, once roasted, has a mild, nutty flavor that works well with lots of other ingredients. That’s why so many cooks like to use it when they want to make their dishes taste richer and more interesting. You can spread it on bread, mix it into dips or sauces, add it to soups or stews, or even put it on top of pizza.
Roasted garlic is an ingredient that can take everyday meals to the next level. The gentle flavor and feel make it a favorite among people who love garlic and it’s still great for those who prefer a milder garlic taste.

Ingredients
Garlic – Try and buy the largest bulbs (heads) you can find. I prefer the garlic that has light purple streaks on the paper, but they aren’t always available. I have never tried elephant garlic, but would love to hear from you if you have or do.
Olive oil – you can use any olive oil you like. I just use the light-tasting olive oil I have in the kitchen for general cooking. You can use more oil if you’d like, then save it for using later. We don’t like ours too oily, it kind of takes away from the garlic flavor.
Kosher salt – you can also use Maldon salt flakes, or any other coarse grain salt. If all you have is table salt, it’ll be fine, use a light sprinkling from your shaker over the garlic.

Directions
1 – To roast garlic, start by setting your oven temperature to 400℉. Take the heads of garlic and remove any loose outer skin. Using a sharp knife, carefully slice off the tops of the garlic heads, revealing as many cloves as possible.
2 – Next, create small nests using aluminum foil for each head of garlic. To prevent the garlic from sticking, give the foil a quick spray with non-stick cooking spray. Place the garlic heads, cut side facing up, into the prepared foil nests and arrange them in a small baking dish.
3 – Drizzle the exposed tops of the garlic with oil and sprinkle a pinch of salt over each head. Cover the baking dish securely with an additional layer of aluminum foil that has been sprayed with non-stick spray (on the side touching the garlic). Transfer the dish to the preheated oven and let the garlic roast for 45 to 60 minutes. At the 45-minute mark, check the garlic to see if it has reached your desired level of golden color.
4 – Once the garlic is done roasting, take the dish out of the oven. Let the garlic cool for a few minutes before attempting to remove the cloves from their skins. The roasted garlic cloves should now be soft, fragrant, and ready to use in your favorite recipes.

Where We Use Roasted Garlic
Our favorite way to use this creamy, mellow garlic is as an appetizer spread on crostini or crackers.
We also use it for flavoring mashed potatoes, roasted green beans and potatoes, and pizza toppings.
You can use it anywhere you want to!
Crostini
Crostini is a simple Italian appetizer consisting of small slices of toasted bread with various toppings. Here’s a basic guide on how to make crostini:
1 – Preheat your oven to 400°F.
2 – Slice a baguette or crusty bread into 1/2 inch thick rounds. If the bread is large, you can slice the rounds in half to make smaller pieces.
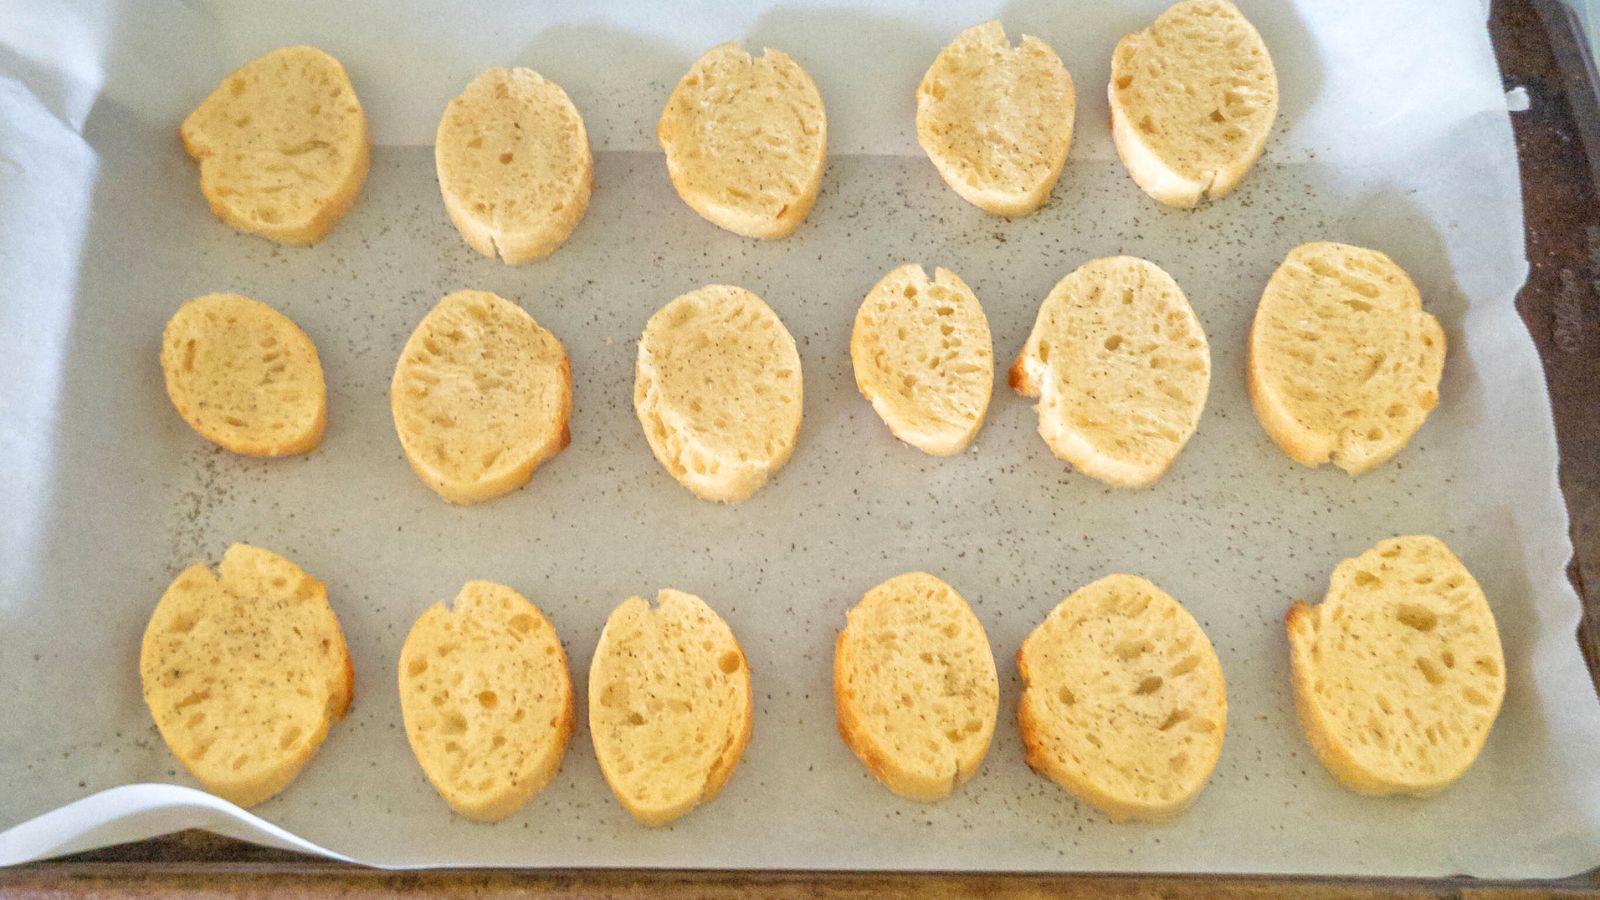
3 – Arrange the bread slices on a baking sheet in a single layer.
4 – Brush each slice with olive oil and sprinkle with salt and pepper. If desired, you can also rub a peeled garlic clove on the surface of each slice for extra flavor. You don’t need to do that today, you’ll have more than enough garlic flavor.
5 – Place the baking sheet in the preheated oven and toast the bread for about 5 to 6 minutes, or until they are lightly golden and crisp. Flip the slices halfway through for even toasting.
6 – Remove the toasted bread slices from the oven and let them cool slightly.

How Do I Get the Garlic Cloves Out After Roasting?
Whenever we want to use it as an appetizer spread, we serve this while still warm with bread. We provide everyone with a small charcuterie fork. Use the small fork to pop each piece out and place it onto the crostini and spread it.
If you want to make a spread without guests doing their own work, you can wait until the roasted garlic is cool enough to handle, turn the upside down and squeeze. The cloves will be bit nore broken up and smashed though.
Do I Have to Roast the Whole Head of Garlic?
No. You could peel each clove of garlic, or buy the pre-peeled garlic from the store.
Simply, make a foil nest large enough to hold all of the cloves. Continue following the recipe. If you choose to do it this way, I recommend you cut off the hard stem piece on each clove, while it is edible, it isn’t as tasty.
MORE RECIPES FOR GARLIC LOVERS

FOLLOW US ON SOCIAL MEDIA AND SAVE THIS RECIPE
SIGN UP TO RECEIVE NOTIFICATIONS AND NEVER MISS AN UPDATE

Roasted Garlic
Ingredients
- 1 bulb of garlic
- 1 tablespoon olive oil
- Kosher salt
Instructions
- Preheat the oven to 400℉.
- Peel any loose skin from the heads of garlic.1 bulb of garlic
- Carefully cut off the tops of the garlic, exposing as many cloves of garlic as possible.
- Make nests out of aluminum foil for each head of garlic.
- Spray the aluminum foil with non-stick spray to prevent sticking.
- Place the garlic, cut side up, into the foil nests and place into a small baking dish.
- Pour the oil over the cut tops of the garlic.1 tablespoon olive oil
- Sprinkle them with salt.Kosher salt
- Cover the baking dish tightly with additional aluminum foil.
- Place into the preheated oven and bake for 45 to 60 minutes, checking at 45 minutes to see if they are as golden as you’d like.
- Once done, remove from the oven.
- Allow to cool for a few minutes before trying to remove the cloves of garlic from the skin.
Notes

Nutrition
Nutrition information is automatically calculated and may vary based on exact ingredients used. For accuracy, consult a registered dietitian or nutritionist.
This recipe was written and tested by a human.
Editor: Oliver Baysinger