
Amazon Associates Disclosure We are a participant in the Amazon Services LLC Associates Program, an affiliate advertising program designed to provide a means for us to earn fees by linking to Amazon.com and affiliated sites.
Ice Cream Sandwich Cake
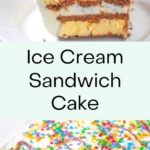
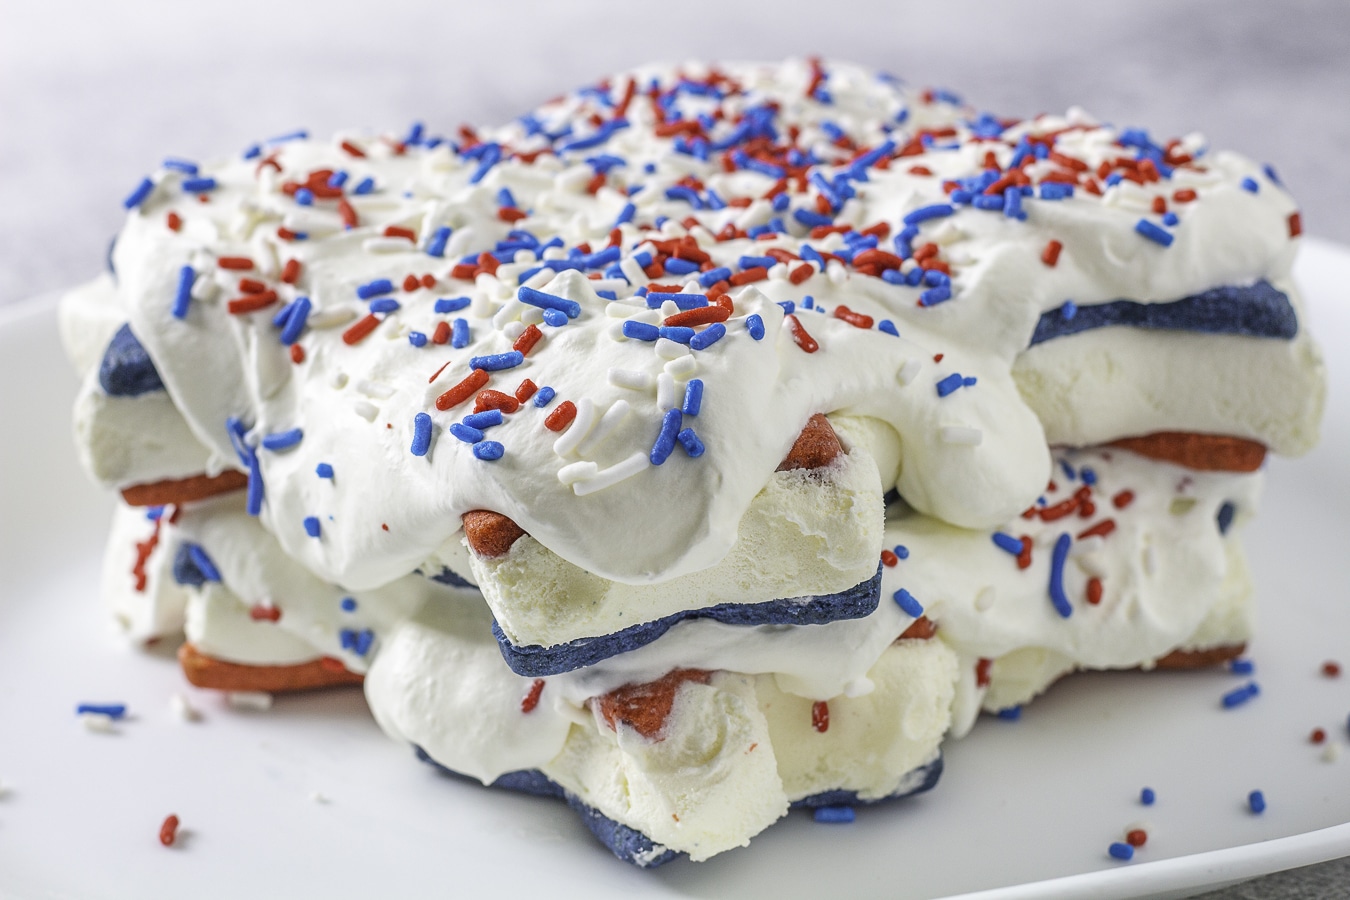
This frozen dessert will make your inner child scream for joy! Our Ice Cream Sandwich Cake is the perfect treat for hot summer days or any occasion that calls for a deliciously chilled dessert.

Layers of creamy ice cream sandwiches, fluffy whipped cream, caramel, and chocolate sauce drizzles come together to create a dessert sensation that will leave you wanting more. Plus, it’s unbelievably easy to make!
Ingredients
Heavy whipping cream (can be substituted with whipped topping like Cool Whip)
Powdered sugar (only if making homemade whipped cream)
Ice cream sandwiches (any flavor will work)
Caramel sauce (optional)
Chocolate sauce (optional)
Sprinkles (optional)
How to Make an Ice Cream Sandwich Cake
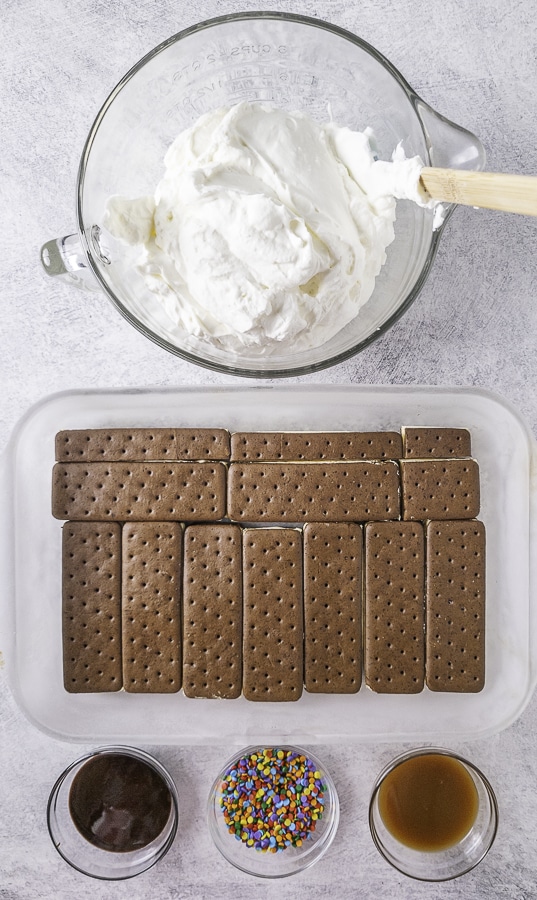
- In a large bowl, combine the heavy cream and powdered sugar. Using an electric mixer, beat until medium peaks form, creating luscious whipped cream. Set aside in the refrigerator.
- Lightly spray the bottom of a 9×13 baking dish with non-stick spray for easy removal.
- Unwrap 10 ice cream sandwiches and place them evenly in the pan, cutting as needed to cover the surface. Unwrap and use 2 more sandwiches if necessary.
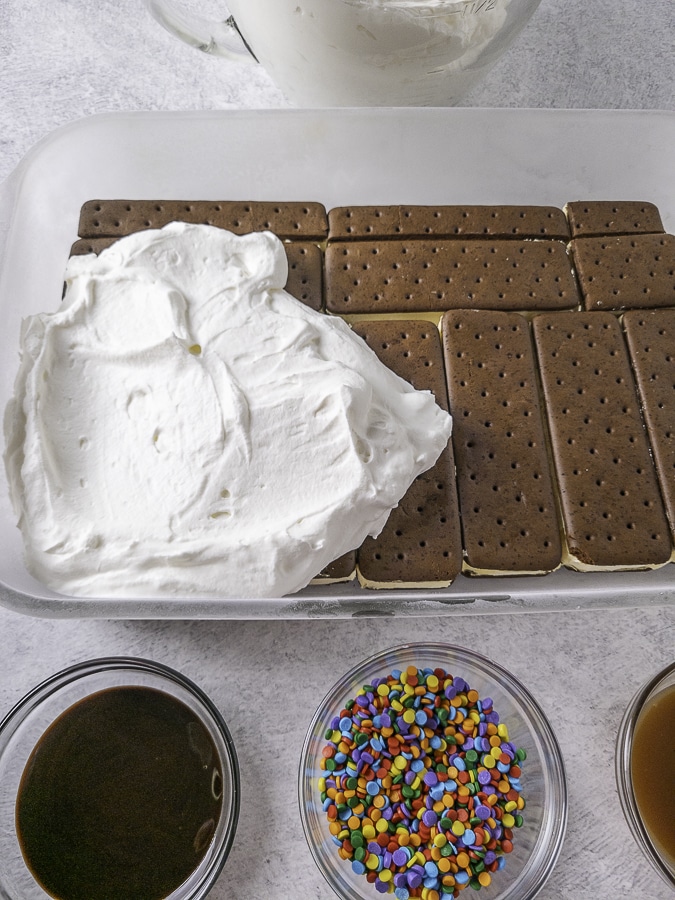
- Spread roughly half of the prepared whipped cream over the ice cream sandwiches, ensuring even distribution.
- Drizzle 2 tablespoons of caramel syrup and 2 tablespoons of chocolate syrup over the whipped cream layer, creating a tempting swirl of flavors.
- For a whimsical touch, sprinkle generously with your favorite sprinkles (if desired).
- Repeat the layering process with another set of 10 ice cream sandwiches placed on top of the whipped cream layer. Cutting and using more ice cream sandwiches as necessary to cover the whipped cream layer.
- Finish by spreading the remaining whipped cream over the second layer, creating a smooth and creamy coating.
- Drizzle 2 tablespoons of caramel and chocolate syrup over the top, forming an enticing pattern.
- Place the dessert in the freezer until firm for the perfect consistency, approximately 30 to 60 minutes.
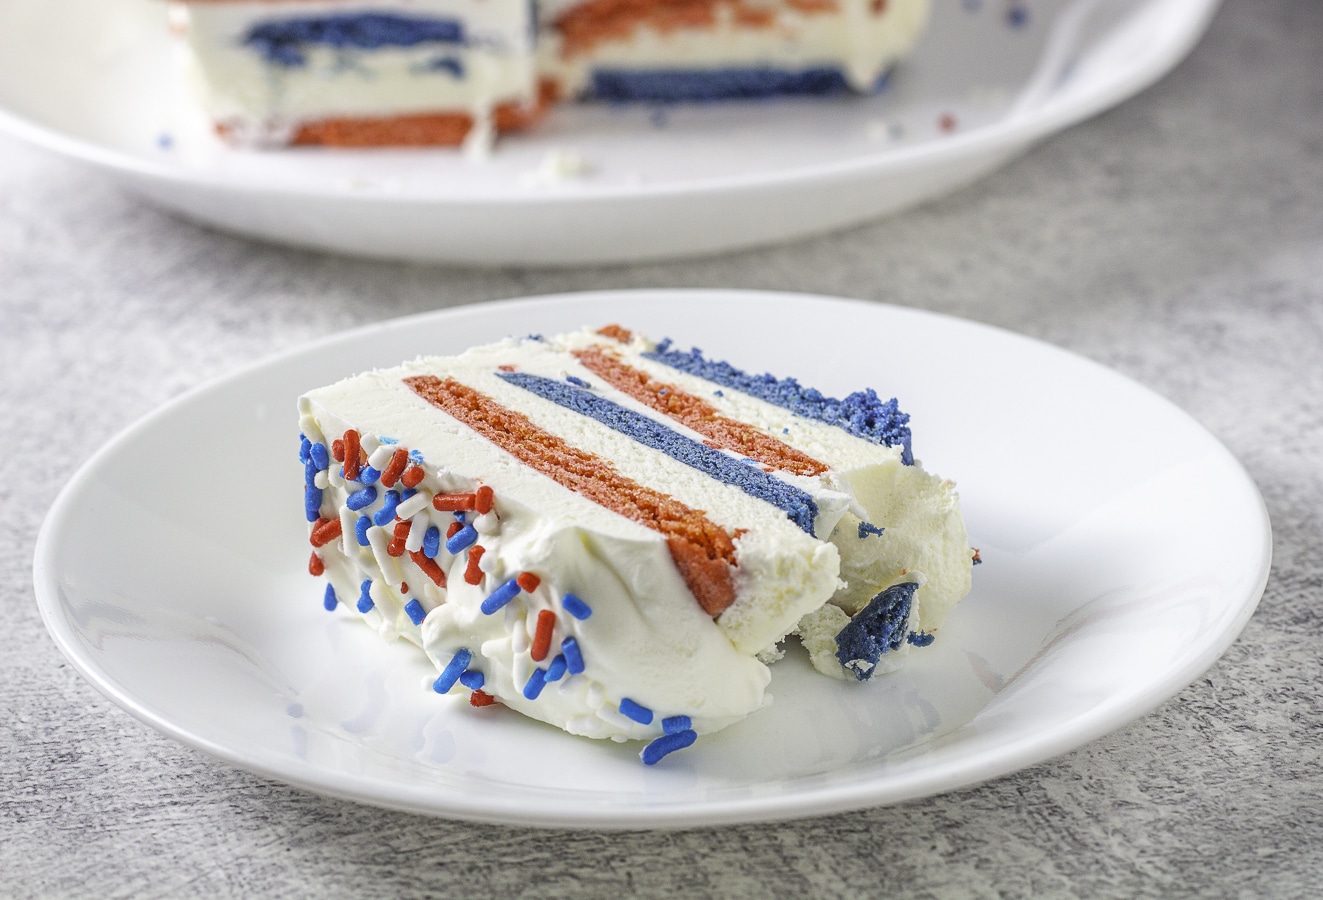
- Once nicely chilled and firm, remove from the freezer and cut into slices.

Different Flavors
Ice cream sandwiches come in so many flavors now, there is no reason to limit yourself to the old-fashioned chocolate ones with vanilla ice cream. Feel free to use any cookie type with chocolate, Neapolitan, or any other ice cream flavor.
Fillings
You can customize the whipped cream by adding color and flavor. Alternatively, swap the whipped cream with your favorite ice cream flavor. Allow it to soften slightly for easy spreading. Try Oreo ice cream with crushed Oreo cookies instead of sprinkles for a tasty twist.
Toppings
The sky’s the limit when it comes to toppings! Besides caramel and chocolate sauce, you can use Magic Shell in various flavors to add a fun and flavorful touch.
You can use mini M&Ms, chopped candy bars or peanut butter cups, chocolate chips, and just about any other sweet topping you can think of. The only limit is your imagination and the size of the cake pan.
Pro Tips
Avoid removing too many ice cream sandwiches from the freezer at once. Start with 10 for the bottom layer and gradually build up to keep them frozen.
If you prefer a shortcut, substitute homemade whipped cream with approximately 16 ounces of Cool Whip.
Forget the cake pan and build the layers on a serving tray instead. Ensure you have extra whipped cream for coating the sides.
Get creative by adding a few drops of food coloring to the whipped cream for vibrant and eye-catching layers.
Remember to store the dessert in the freezer when not serving to maintain its perfect quality and flavor.
This delicious crowd-pleaser is simple to make and bursting with creamy, sweet flavors. Whether you’re enjoying it on a scorching summer day or as a treat for any occasion, this summer dessert is sure to bring smiles all around. So, grab your spoons and enjoy this frozen delight that will keep you coming back for more!
MORE COOL SUMMER DESSERT RECIPES YOU’RE GOING TO LOVE
FOLLOW US ON SOCIAL MEDIA AND SAVE THIS RECIPE
SIGN UP TO RECEIVE NOTIFICATIONS AND NEVER MISS AN UPDATE
Ice Cream Sandwich Cake
Ingredients
- 3 cups heavy whipping cream
- 3 tablespoons powdered sugar
- 24 ice cream sandwiches
- ¼ cup caramel sauce
- ¼ cups chocolate sauce
- Sprinkles optional
Instructions
- Combine the heavy cream and powdered sugar in a large bowl and beat with an electric mixer until medium peaks form.
- Set the finished whipped cream in the refrigerator until ready to use.
- Lightly spray the bottom of a 9X13 baking dish with non-stick spray.
- Unwrap 12 ice cream sandwiches and place them into the bottom of the pan, cutting as needed to cover the bottom completely.
- Place half of the whipped cream on top of the ice cream sandwiches and spread evenly.
- Drizzle the whipped cream with 2 tablespoons of caramel sauce and 2 tablespoons of chocolate sauce.
- Sprinkle generously with sprinkles if using.
- Repeat the layers.
- Place the entire dessert into the freezer until firm, 30 to 60 minutes.
- Remove from the freezer.
- Slice and serve.

Nutrition
Nutrition information is automatically calculated and may vary based on exact ingredients used. For accuracy, consult a registered dietitian or nutritionist.
This recipe was written and tested by a human.
Editor: Oliver Baysinger
Beth this looks so good!! And bonus points for being easy
Hi Marie!
Thanks for stopping by! It really is easier than it looks.
Cheers!