
Amazon Associates Disclosure We are a participant in the Amazon Services LLC Associates Program, an affiliate advertising program designed to provide a means for us to earn fees by linking to Amazon.com and affiliated sites.
Super Easy Spent Grain Beer Crackers


Looking for spent grain recipes? Try our Spent Grain Beer Crackers made with whole grain and beer. Easy to make and are the perfect crispy salty snack!

As a professional snacker, I love some spent grain beer crackers. This recipe is for a very simple cracker recipe featuring beer that can be made with all of the ingredients you may already have in your pantry.
Ingredients
The only ingredients you need are flour, salt, and beer.
I do recommend the following ingredients to give your crackers a boost: spent grain if you’re a homebrewer, whole wheat flour, and garlic powder. I use half all-purpose and half whole wheat.
You’re probably wondering what spent grain is if you aren’t a homebrewer. Spent grain is the byproduct of using grain when making beer.
This grain has given all of its goodness for making beer, but when dried, it can be added to baked goods like crackers.
Sourcing Spent Grain and Substitutions
If you don’t homebrew, but you know one… ask them for their leftover grain after a brew day. They’ll probably give to you in a wet shaggy form, but just toss it in a 200 degree F oven for 2-3 hours until it’s completely dry. Then it’s ready for baking!
If you aren’t a homebrewer, just substitute this part of the recipe with wheat bran.

Beers I Use
For beer, you can use any beer on hand you like. If you don’t want to use beer, that’s ok too, just use water or some other flavored liquid.
I suggest using a beer with a pretty heavy flavor so it comes through in the crackers.
I’d recommend the following styles:
- Pale Ale
- IPA
- Stout
Pale ale and the IPA will allow the hoppy flavor to come through nicely while the stout will create a more rustic chocolate-like flavor. In this post, I am using a homebrewed American hopped pilsner.
Instructions
I’m using a KitchenAid stand mixer. You can do this by hand, but it can get pretty tiresome.
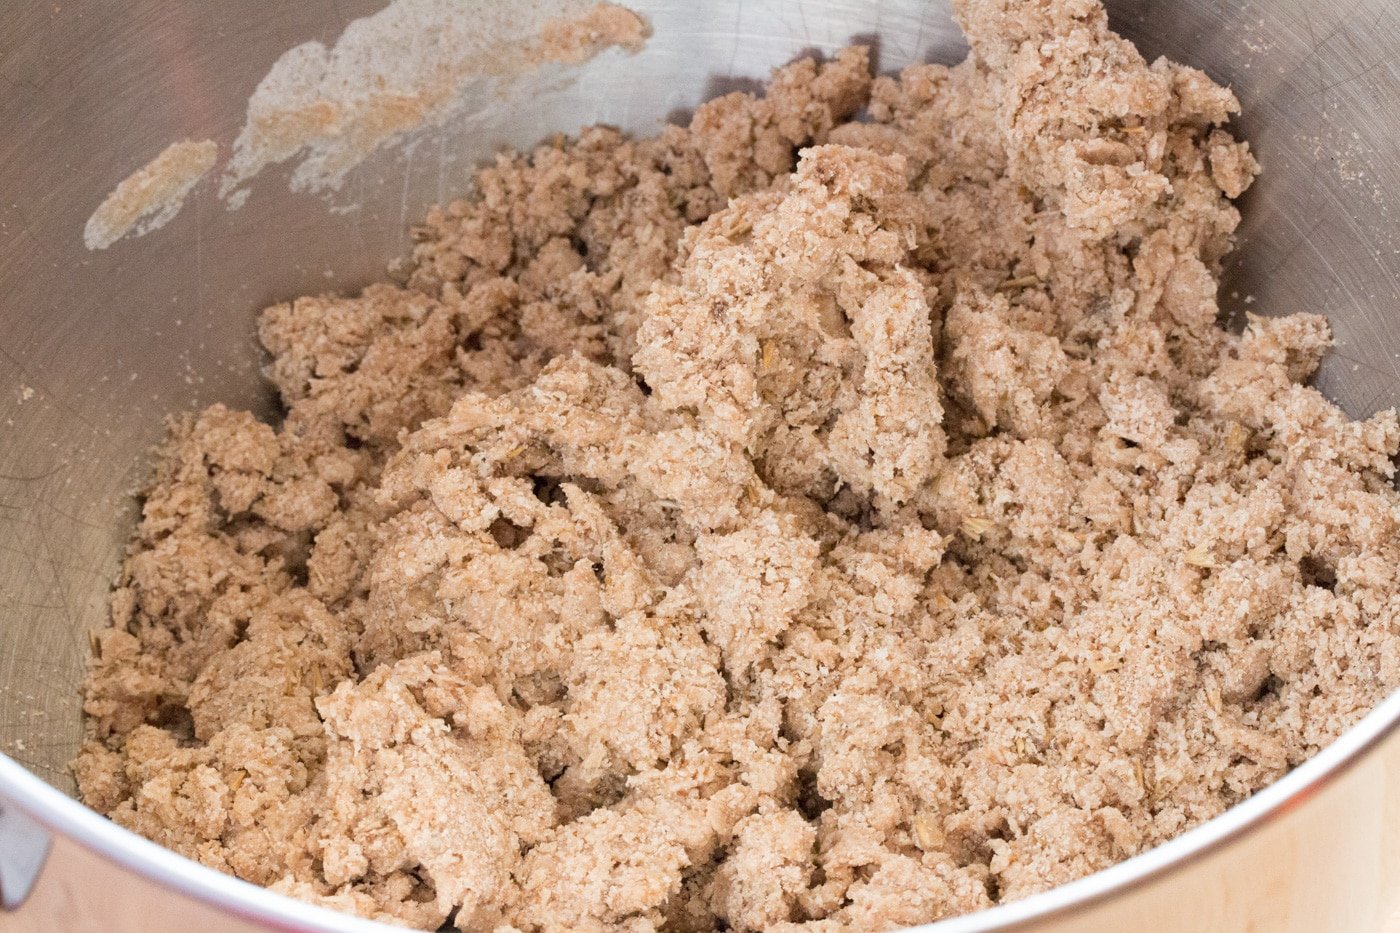
Start by adding all of your ingredients to a bowl except 1/2 cup of the water. You will want to start with one cup of water and work your way up to the appropriate consistency.
In the two images below, the first one is too dry. The second one has just the amount right of water.
The amount of water you need will depend on how dry your ingredients are and how dry it is in your house, so start at one cup and add water until it looks right.
When mixed, dust your work surface with plenty of flour and toss the dough onto the work surface.
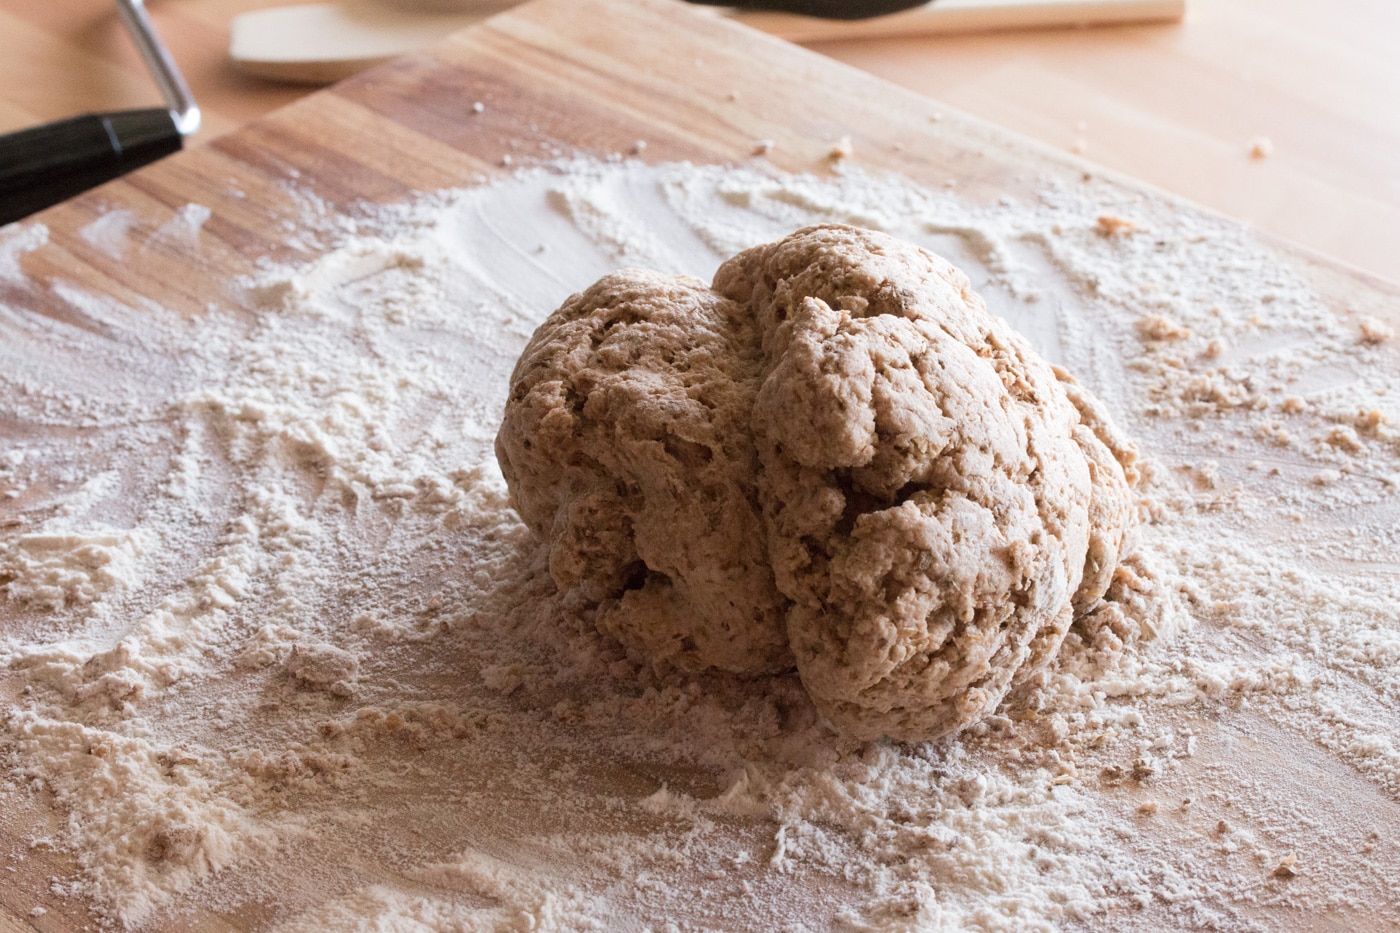
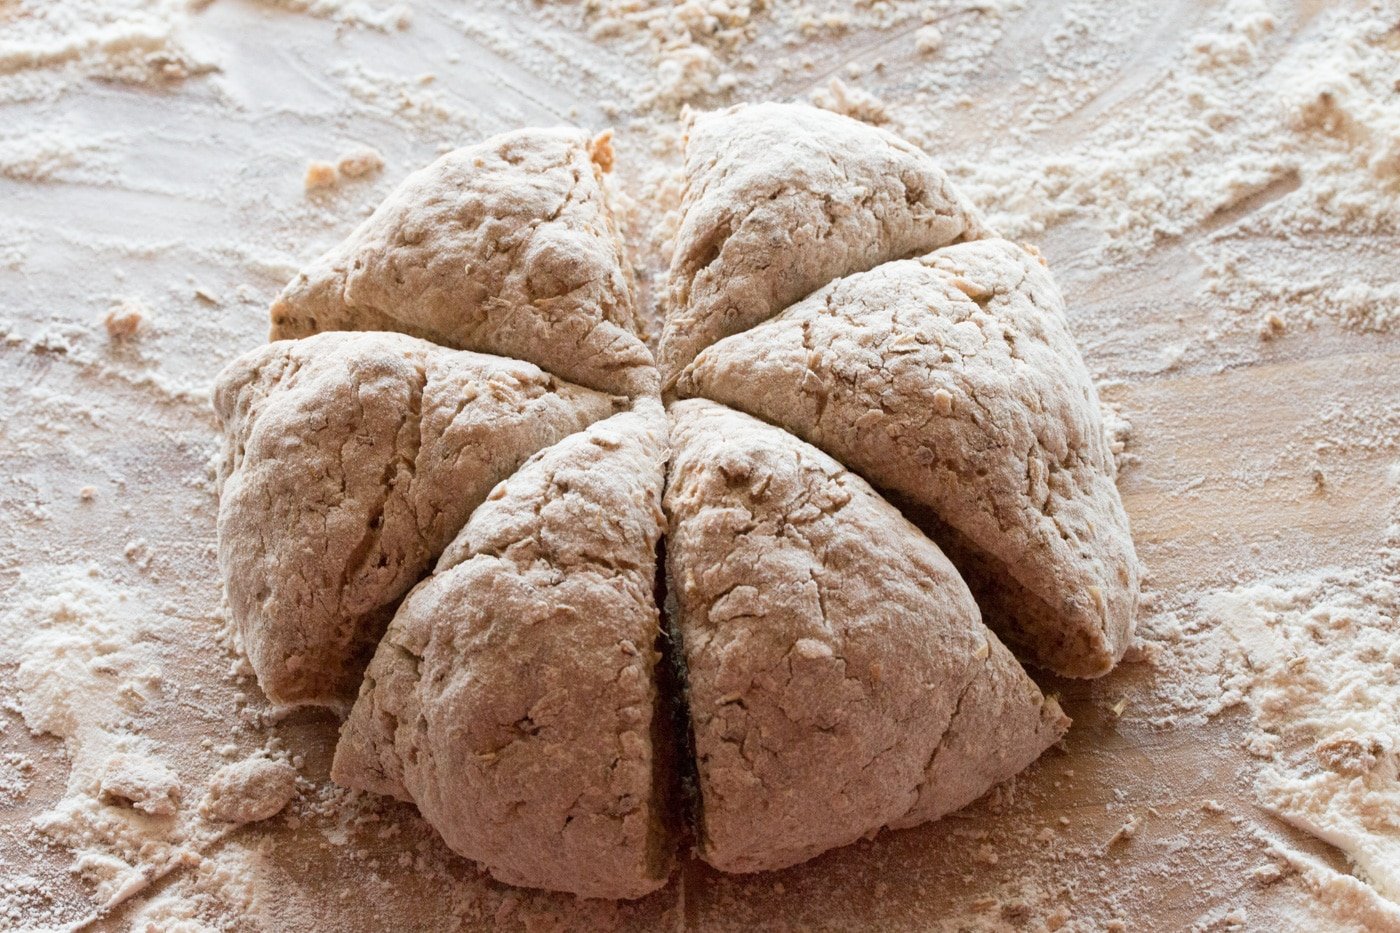
Knead and roll into a ball. Then cut into roughly 4 to 8 pieces using a bench scraper or knife.
How to Roll the Dough
Take one piece and put the rest aside until later.
Roll that piece into a rough long piece of dough roughly 1/4 inch thick.
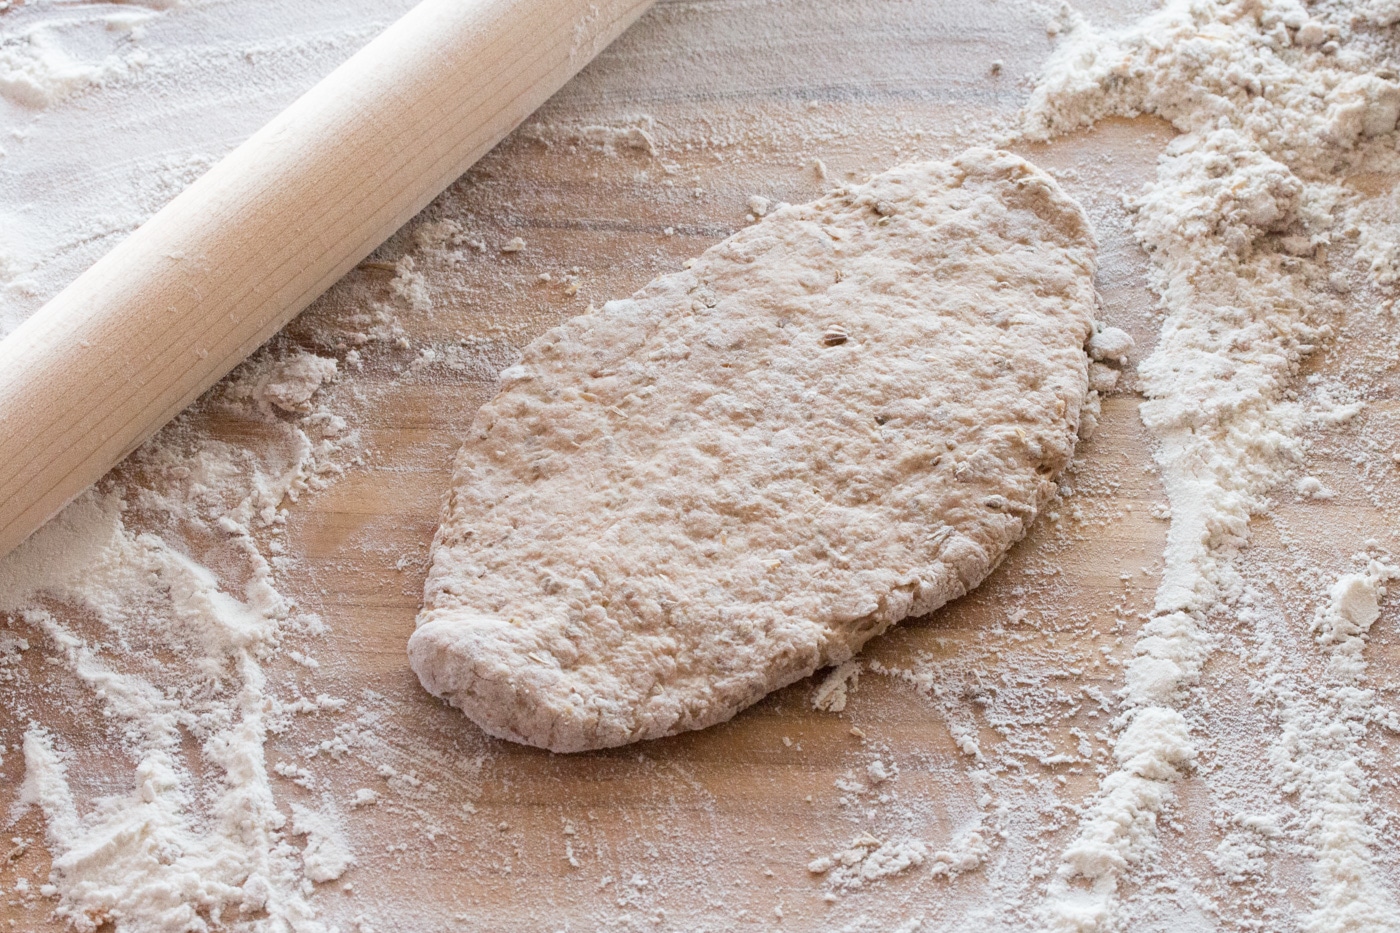
You will want to roll this piece of dough as thin as you can. You need to get it to about 1/8 of an inch.
I’m very lazy and I’m not good at consistency, so I used a pasta machine to finish off the dough, but you can continue using the rolling pin.

If using a pasta machine, you’ll want to start off at the largest cap possible and work your way down to your final thickness.
On this machine, I stopped at setting 3.
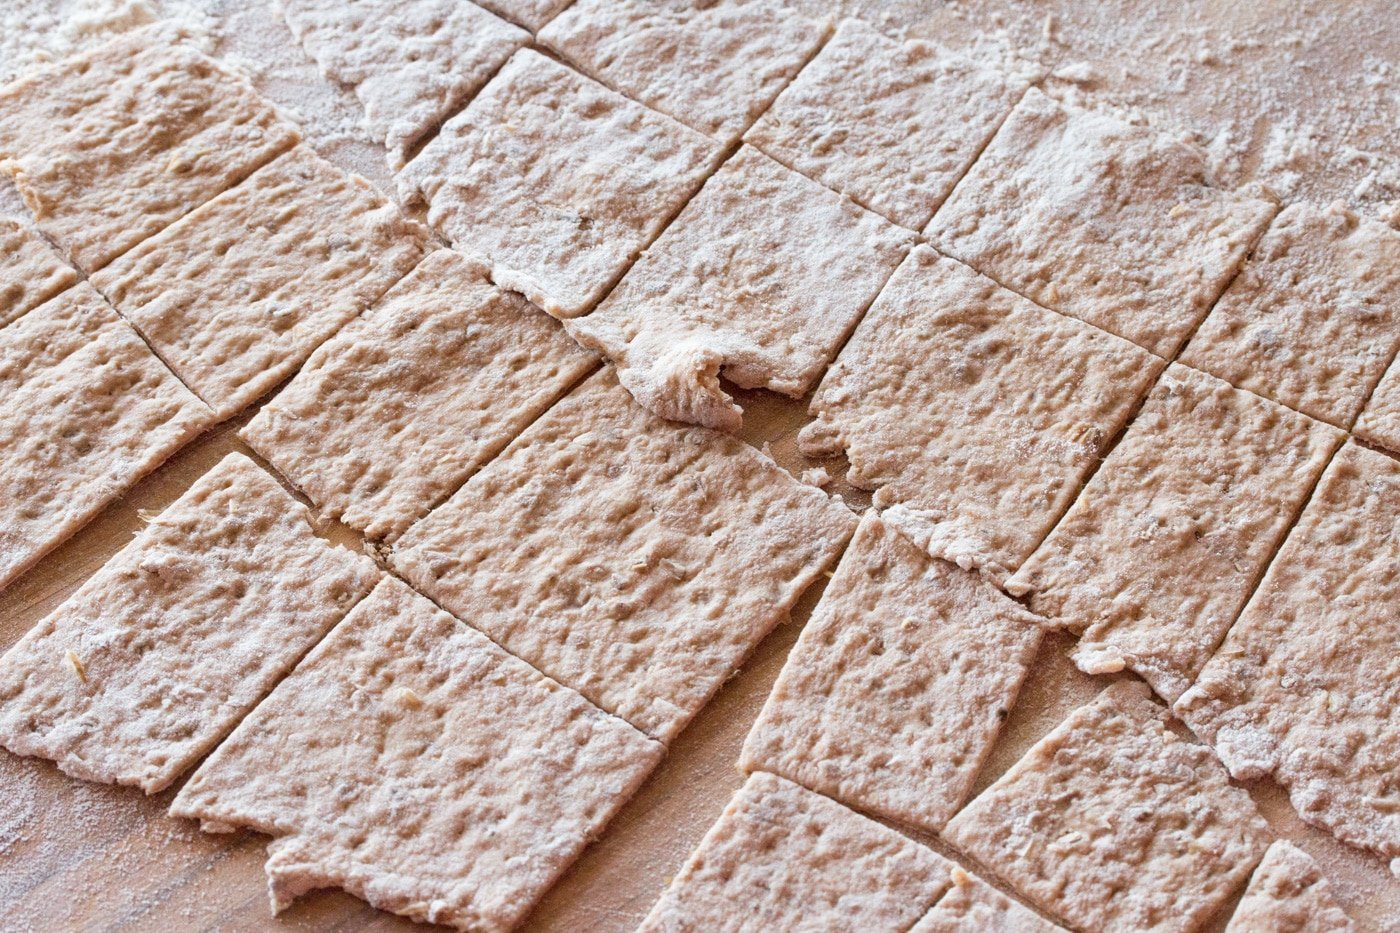
Cut the Dough
Cut your dough into any shape you like. I prefer squares, and your rolled and cut dough should kind of look like the photos below. Don’t worry if the edges look scraggly or rough. I like a rough and rustic appearance.
You can be as OCD with your dough as you’d like as long as it’s thin.
Place your cracker pieces onto a baking sheet lined with parchment paper or a Silpat.
Baking Time and Temperature
Bake your crackers in a 325ºF oven for 25-35 minutes. Start checking your crackers around the 25-minute mark.
Push on them. If they’re soft, they need to keep going baking.
I take one piece out of the baking sheet while it’s still in the oven, let it cool for about 30 seconds, and then give it a bite. If it’s crunchy, and not soft and chewy in the middle, they’re done.
Substitutions
Beer can be substituted with water or any other flavored thin liquid. Using plain water will produce a more bland cracker. We suggest adding some additional flavoring like garlic or onion powder.
Spent grain can be difficult to locate if you do not know any homebrewers. You can still make some great beer crackers by substituting wheat germ or flaxseed for spent grain. More liquid may be needed to get the right dough consistency when using flaxseed.
Whole wheat flour and all-purpose flour can be used in any combination.
We have never tried any gluten-free flour option as we use spent grain which may contain gluten anyway.
MORE SNACK RECIPES YOU’RE GOING TO LOVE

FOLLOW US ON SOCIAL MEDIA AND SHARE THIS RECIPE
SIGN UP TO RECEIVE NOTIFICATIONS AND NEVER MISS AN UPDATE
Spent Grain Beer Crackers
Equipment
- Rolling Pin
Ingredients
- 2.5 cups all purpose flour substitute up to half with whole grain flour
- 0.5 cups of spent grains or wheat bran
- 1 tbsp. salt
- 1.5 cups of beer
- 2 tsp. garlic powder optional
Instructions
- Preheat oven to 325 degrees F
- Combine the flour, spent grain, and salt in a bowl
- Add one cup of the beer and mix into the dry ingredients.
- Mix thoroughly until a shaggy mess has been made in the bowl. If it look like there isn’t enough liquid, add a little bit of the remaining beer to the bowl. Keep mixing until the mixture looks like it will hold together but isn’t soaking wet.
- Dump the dough onto a work surface coated in flour. Kneed the dough until it forms a nice ball.
- Cut the dough ball into manageable pieces (4 to 8 pieces)
- Roll the dough balls to roughly 1/8 thickness (I prefer to use a pasta machine here and I’ll take it to setting 3)
- Place on to a baking sheet lined with parchment paper or a silpat.
- Bake at 325 degree F for 25 to 35 minutes. Check regularly after the 25 minute.
- Remove crackers from oven and let cool.

Nutrition
Nutrition information is automatically calculated and may vary based on exact ingredients used. For accuracy, consult a registered dietitian or nutritionist.